Shop Name and Access Token for Shopify
In this article, we will look at the steps to generate shop name and access token for Shopify.
Shop Name and Access Token for Shopify
In this article, we will look at the steps to generate shop name and access token for Shopify.
Find the links to other articles related to Shopify Below:
- Essential Attributes and Supported Tables for Shopify
- Setup Instructions for Shopify
- Schema Information for Shopify
Getting Shopify Shop Name
The Shop name can be found in the URL of your Shopify account.
Steps to Create Custom App and Retrieve Client credentials
Prerequisites
- Shopify store admin access
- Access to Shopify Dev Dashboard
- App is created as an Admin App
Step 1: Open Shopify Dev Dashboard
- Navigate to the Shopify Dev Dashboard and select your organization.
- From the left menu, click Apps.
- The app must be built and installed from the Shop admin account not from Partner account.
- You will need Shop owner permissions or Full Admin access to access this page. Please reach out to Shopify support in case you face issues.

Step 2: Click Create app
- Start with Shopify CLI
- Start from Dev Dashboard
Start from Dev Dashboard.
Step 3: Configure App Details
3.1 App URLs
- App URL: Your store URL
- Embed app in Shopify admin: False

3.2 Configure Access Scopes
- Copy the scopes below and paste in the editor window
read_orders,read_merchant_managed_fulfillment_orders,read_assigned_fulfillment_orders,read_draft_orders,read_customers,read_products,read_shopify_payments_payouts,read_locations,read_inventory,read_gift_cards,read_shipping,read_price_rules,read_all_orders,read_shopify_payments_disputes

Step 4: Release the App Version
- Version name: Optional
- Version message: Optional

Note: You can always create and release a new version of the app and edit/add new settings.
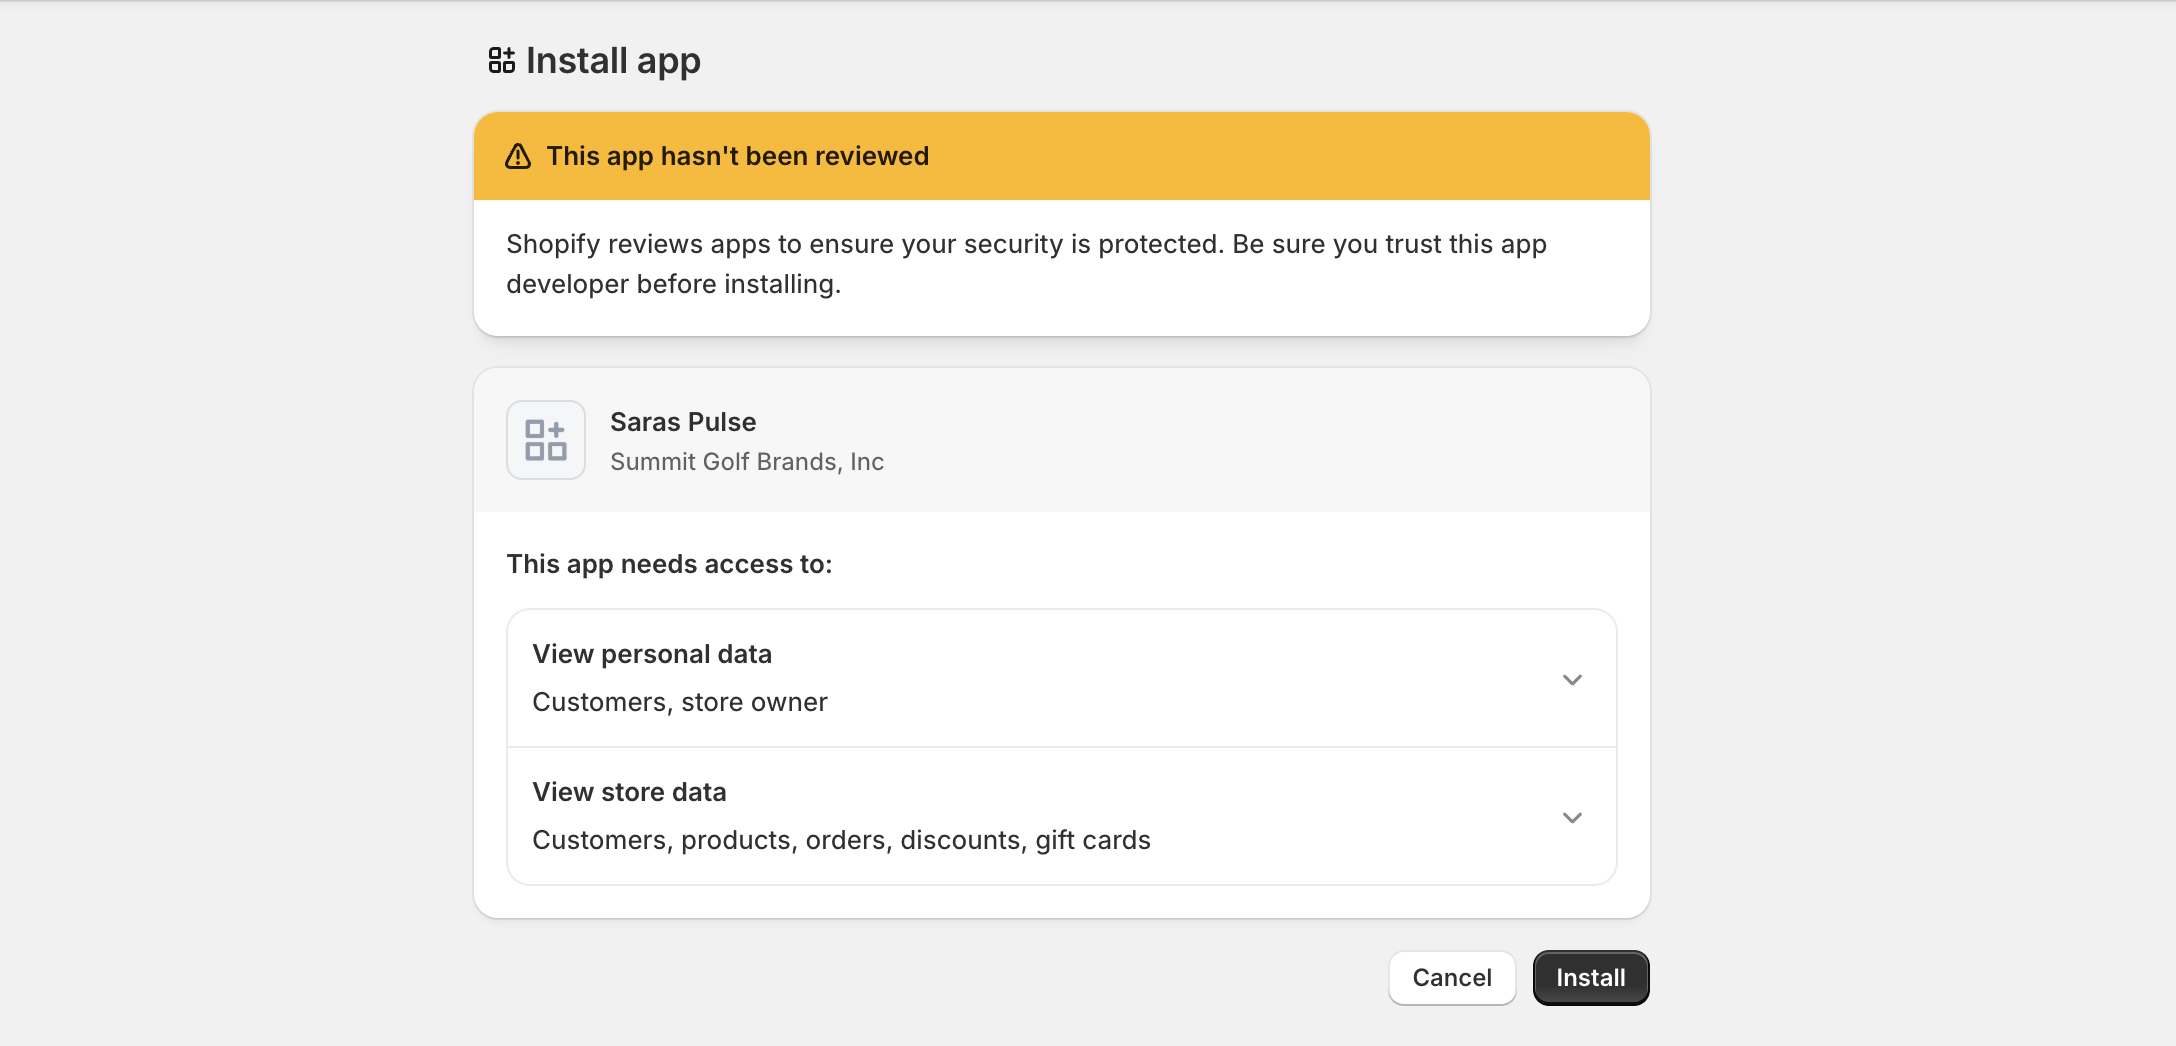
Step 5: Install the App on Store

- Select the shopify store you want to install in.
- Approve requested scopes on the Shopify store.
- Once installed, the app can access Admin APIs as per granted scopes.
You can use the same app to install in multiple stores. To install in additional store just click Install and select the next store. The client credentials will remain the same.
Step 6: Retrieve API Credentials
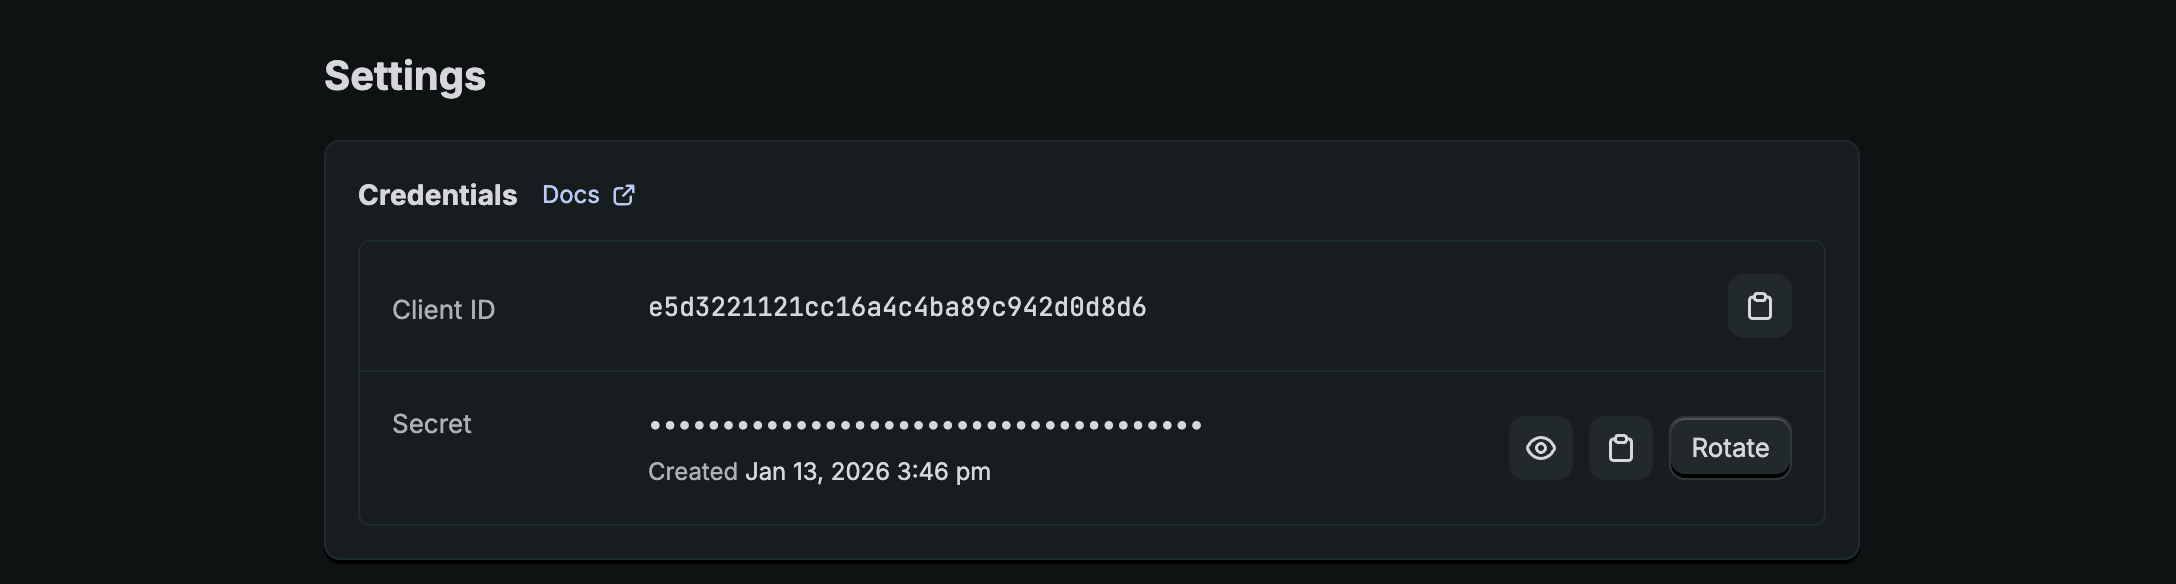
- Client ID
- Client Secret
We are currently working on registering Saras as a service provider to make the setup process simpler and more secure. We appreciate your patience during this period.
Table - Scope Mapping
| TableName | Scope Required |
|---|---|
| orders | read_orders |
| transactions | read_orders, read_shopify_payments_payouts |
| refunds | read_orders |
| fulfillment_orders | read_merchant_managed_fulfillment_orders/read_assigned_fulfillment_orders |
| fulfillment_events | read_orders |
| tender_transactions | read_orders |
| draft_orders | read_draft_orders |
| customers | read_customers |
| customer_address | read_customers |
| events | - |
| products | read_products |
| payouts | read_shopify_payments_payouts |
| balance_transactions | read_shopify_payments_payouts |
| collects | read_products |
| custom_collections | read_products |
| smart_collections | read_products |
| abandoned_checkouts | read_orders |
| policies | - |
| countries | - |
| shop | - |
| locations | read_locations |
| inventory_levels | read_inventory |
| inventory_items | read_inventory |
| gift_cards | read_gift_cards (Reach out to Shopify Merchant Success Manager) |
| users | read_users (Reach out to Shopify Merchant Success Manager) |
| carrier_services | read_shipping |
| price_rules | read_price_rules |
| disputes | read_shopify_payments_payouts |
| order_customerjourneysummary | read_orders, read_marketplace_orders, read_all_orders(if you need data for orders placed before 2 months) |