Setting up your Daton account
In this document we will cover step by step procedure to create your account and configure your first warehouse and source integration on Daton.
Setting up your Daton account
In this document we will cover step by step procedure to create your account and configure your first warehouse and source integration on Daton.
Follow the steps below to setup your Daton account
Step 1: Click on configure now, to connect your data warehouse.

Setting up your first Data Warehouse
Step 2: You will be shown the list of all the supported Destinations.
Find the link to the setup instructions for each Destination below:
Below, we have outlined the steps to connect BigQuery. For detailed instructions on connecting each destinations, please refer to the links above.
Step 3: Look for the Destination you want to send your data to, and click Configure.

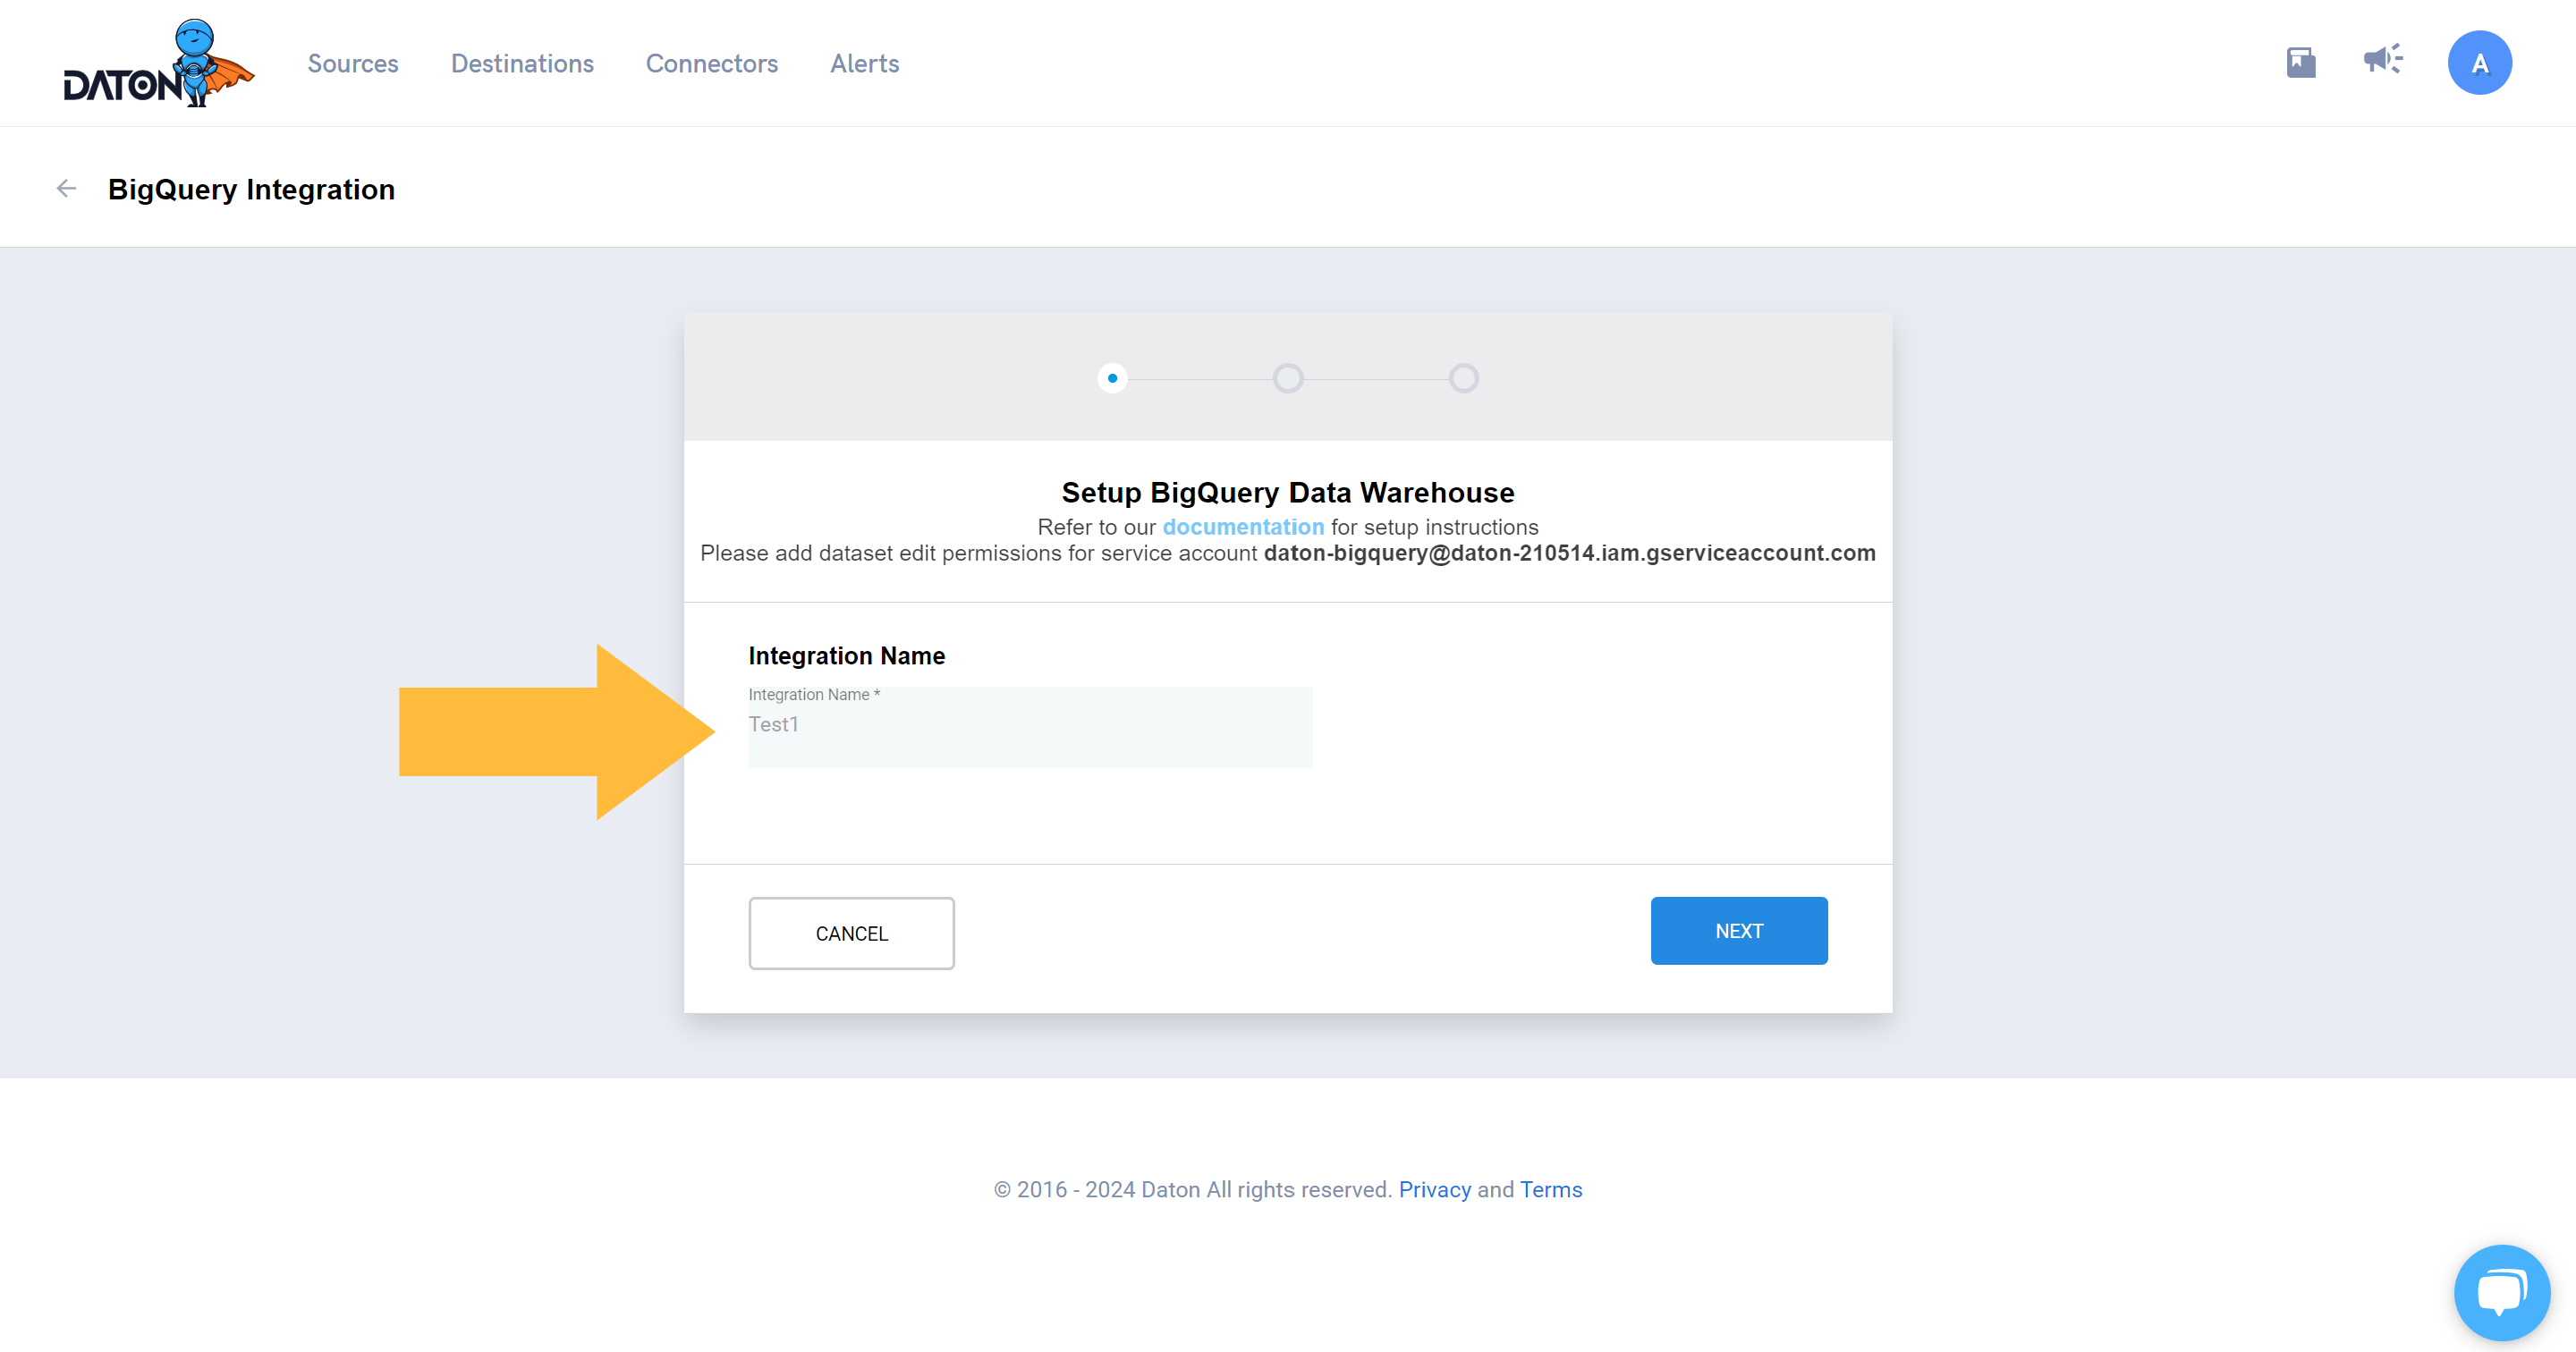
Step 4: Provide a name for the warehouse integrations. Data sets will be created with this name in the warehouse.
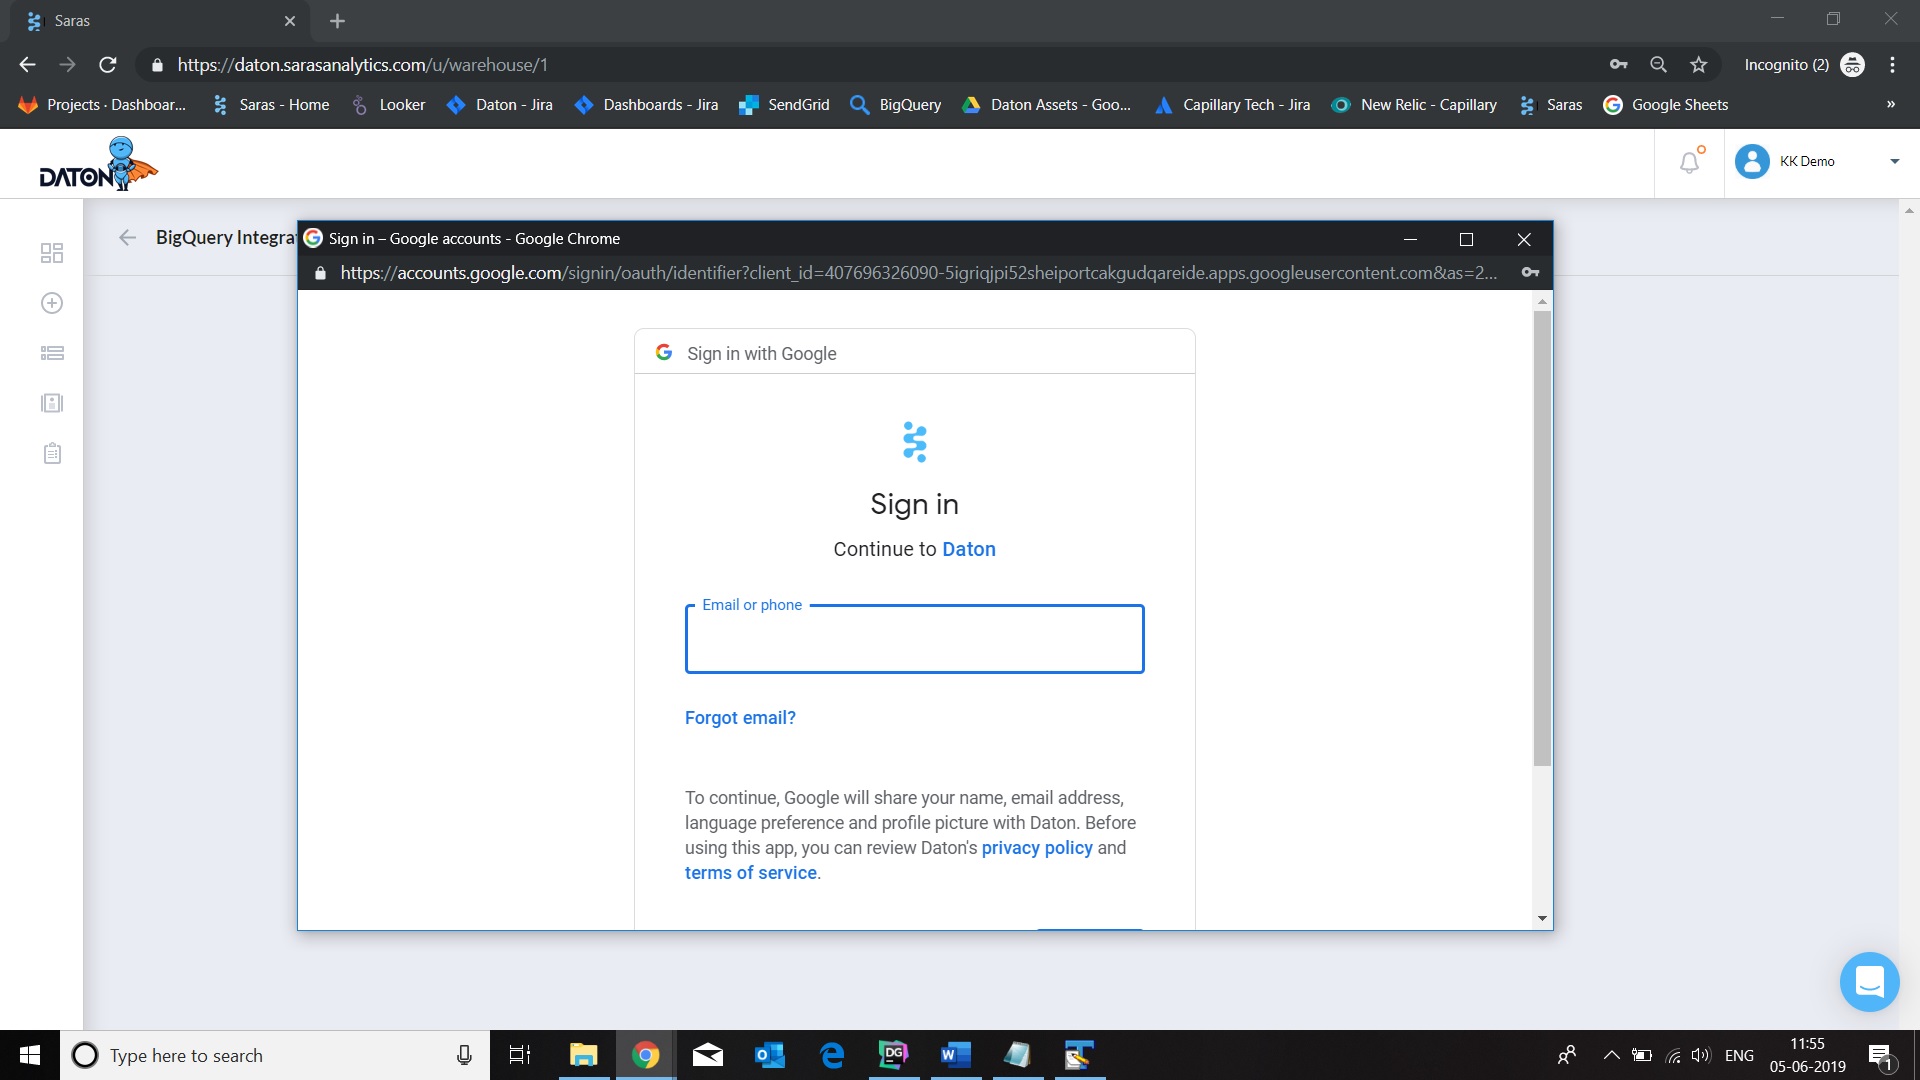
Step 5: Sign-in with Google account, that owns the Big Query warehouse.
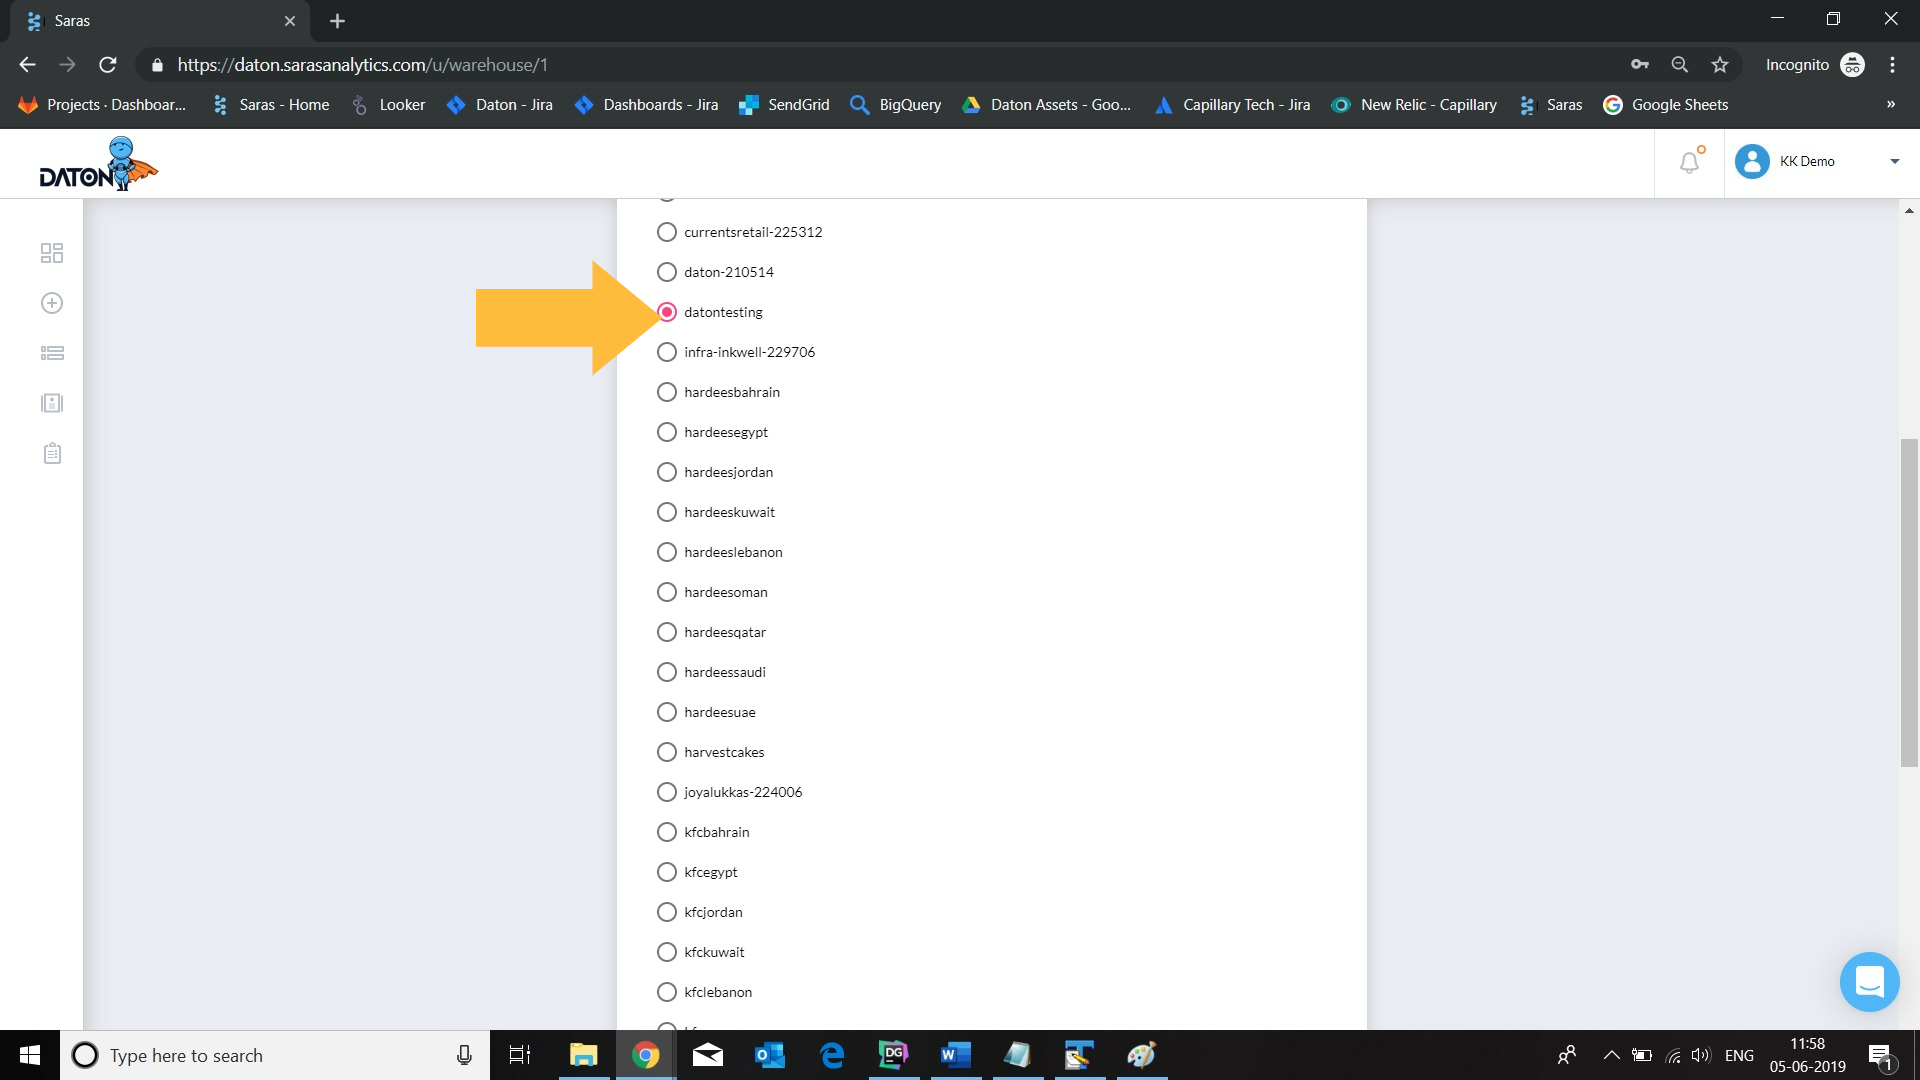
Step 6: Select a project, then select a region, then click on Submit. You can also choose to test the integration before submitting it.
Setting up your first Source
Step 7: Once you get the Integration successful message, click on “Proceed”, then click on “Configure now”.

Step 8: You will be redirected to the sources tab, search for the source you want to connect and click on "Configure".

Step 9: Provide the following details:
- Integration Name: Tables in the warehouse would be created using this name.
- Replication Frequency: Parameter to specify how often the data must be replicated from source to destination. You can select a frequency from 1 hr to 24 hrs.
- Replication Start Date/History: Parameter to specify how much historical data to be replicated in the first load. All subsequent loads would be incremented from the previous load. You can select history from 0 years to 10 years.

Step 10: Provide details for authentication and authorization.
This screen will change depending on the authentication parameters and mechanism for each data source.
Authentication mechanisms include OAuth (username & password for the SaaS application), or Basic Authentication (with static API keys and Secrets or Database details).
| Authentication using OAuth | Authentication using API keys |
|---|---|
 |
 |
Step 11: Select accounts or schema for the integration.
Database sources might have several DB schemas to select from. Users can select one or multiple schemas for an integration. Similarly for some of the SaaS applications like Facebook Ads, businesses can have multiple Ad accounts with in the same Facebook business account, and users can select multiple Ad account ids.
Step 12: Select required tables.
APIs from all third party applications are represented as tables in Daton. Users can select multiple tables for the selected integration
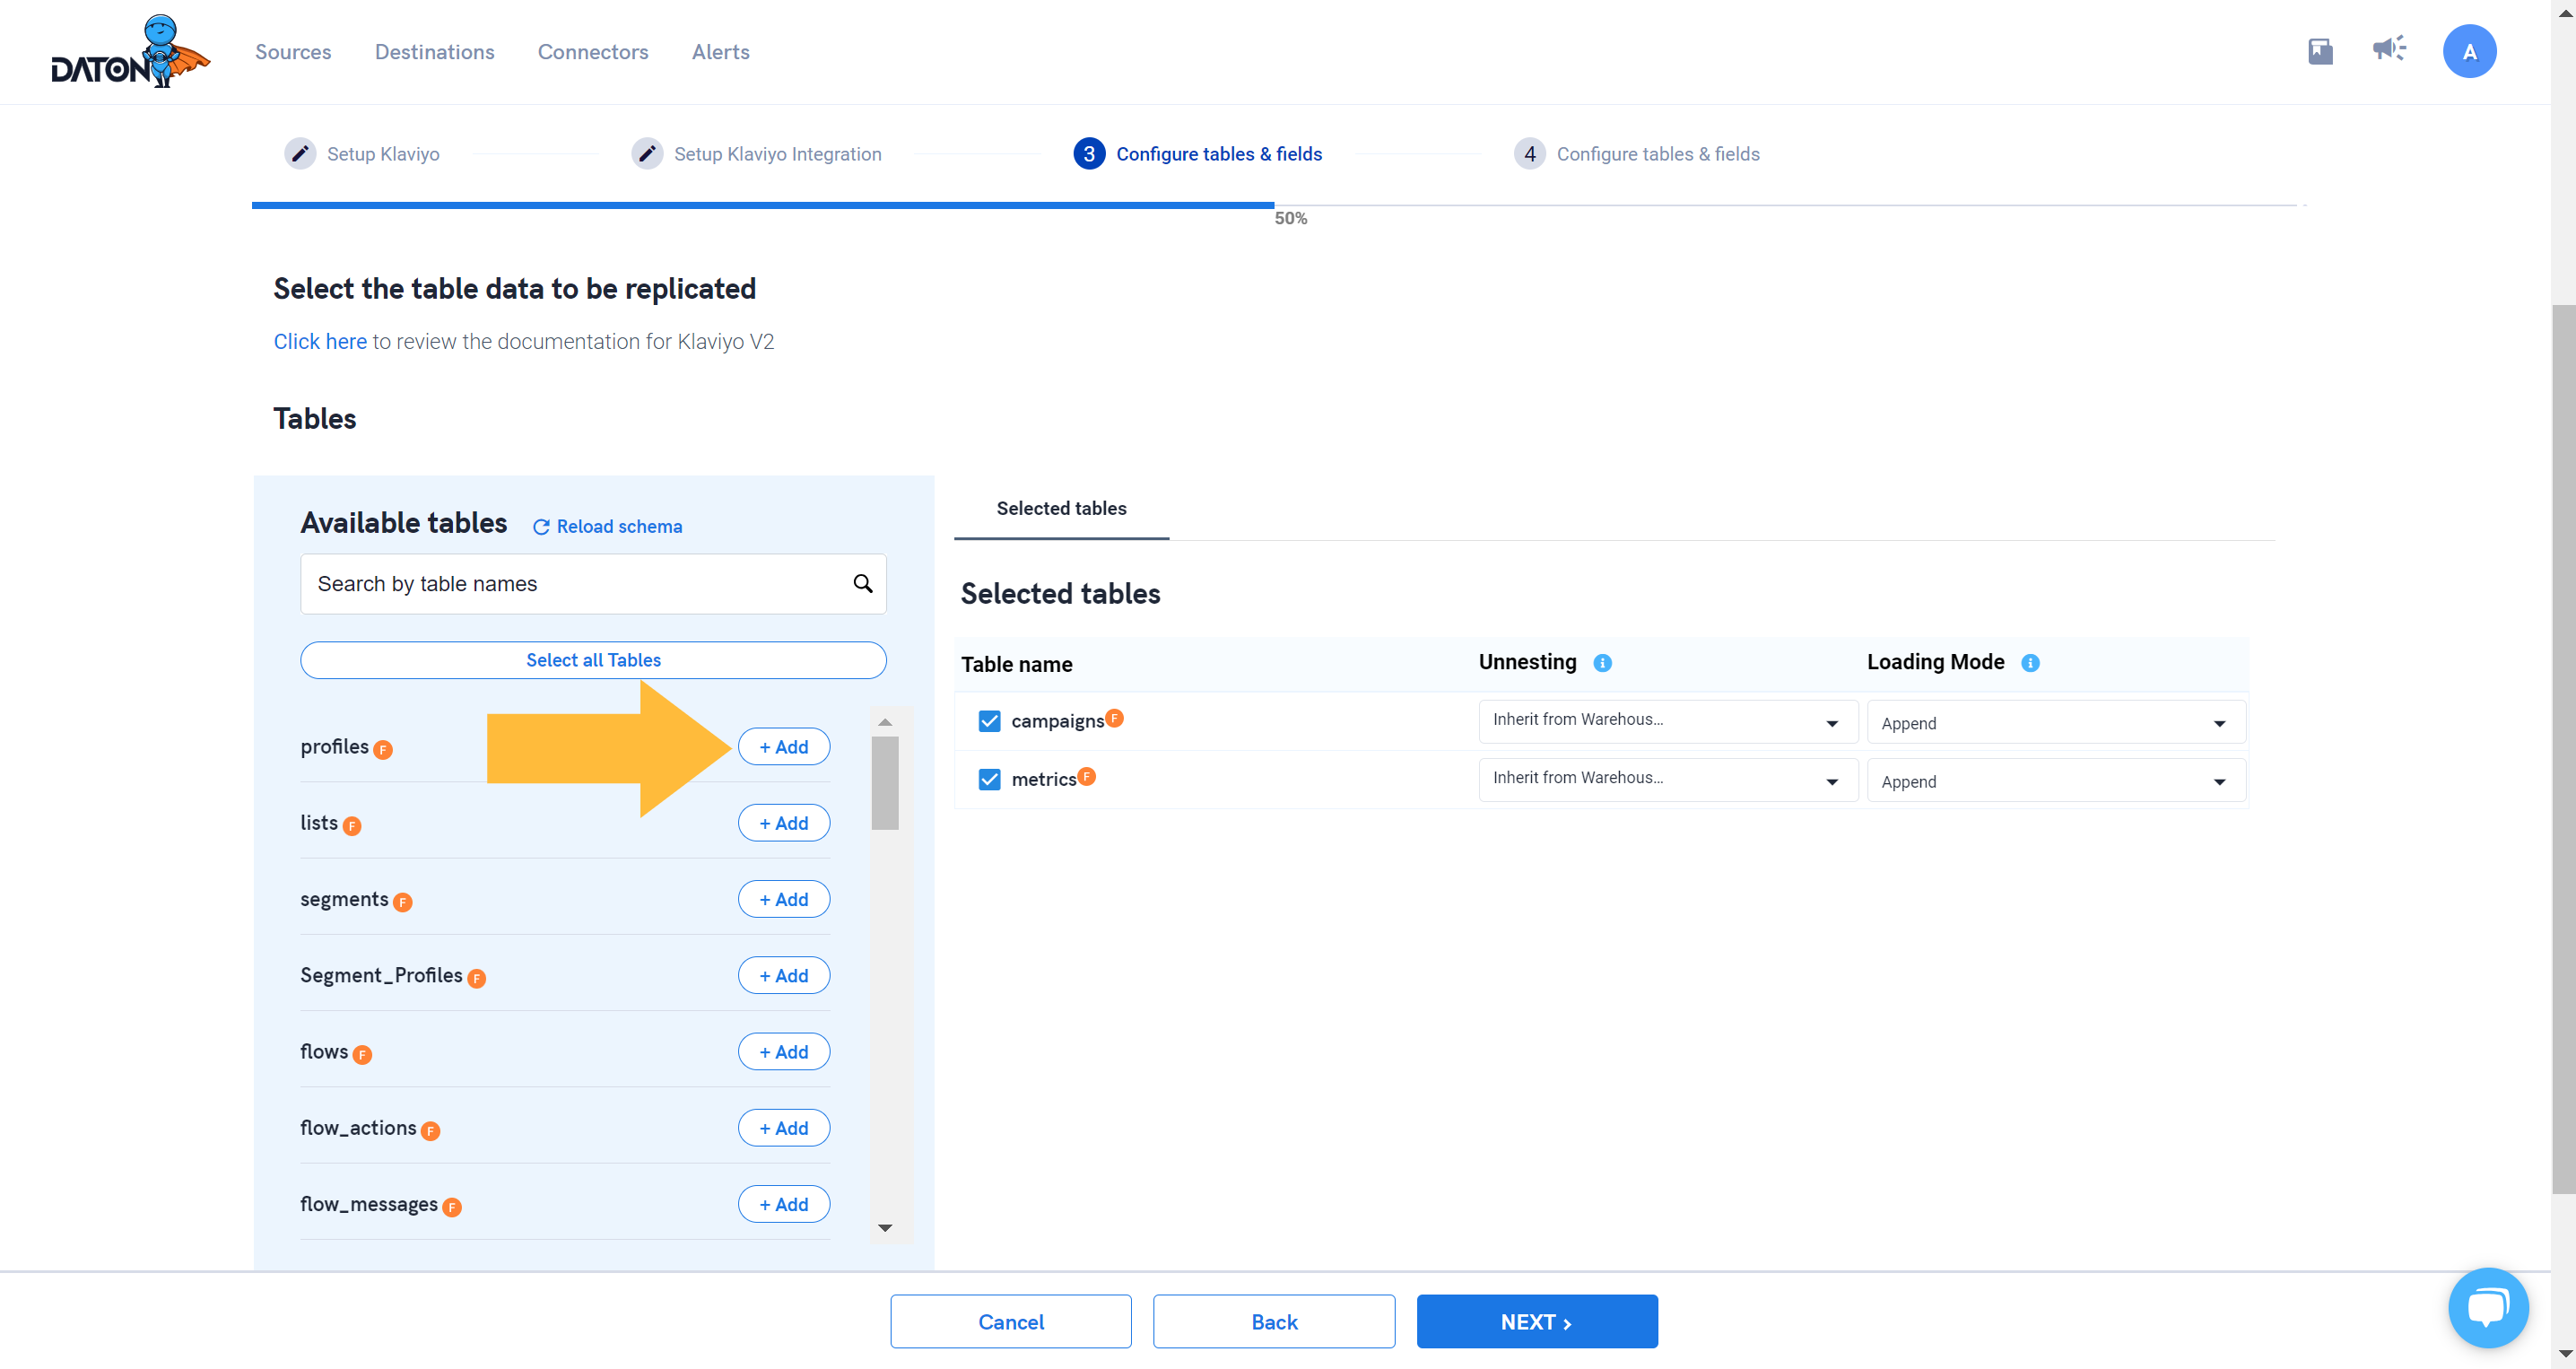
Step 13: Next step is to select the fields for each table.
Select replication fields (only for database sources) to increment data based on this field. For example, If we select a primary key as a replication field, then data extracts will be processed incrementally based on the last extracted primary key.
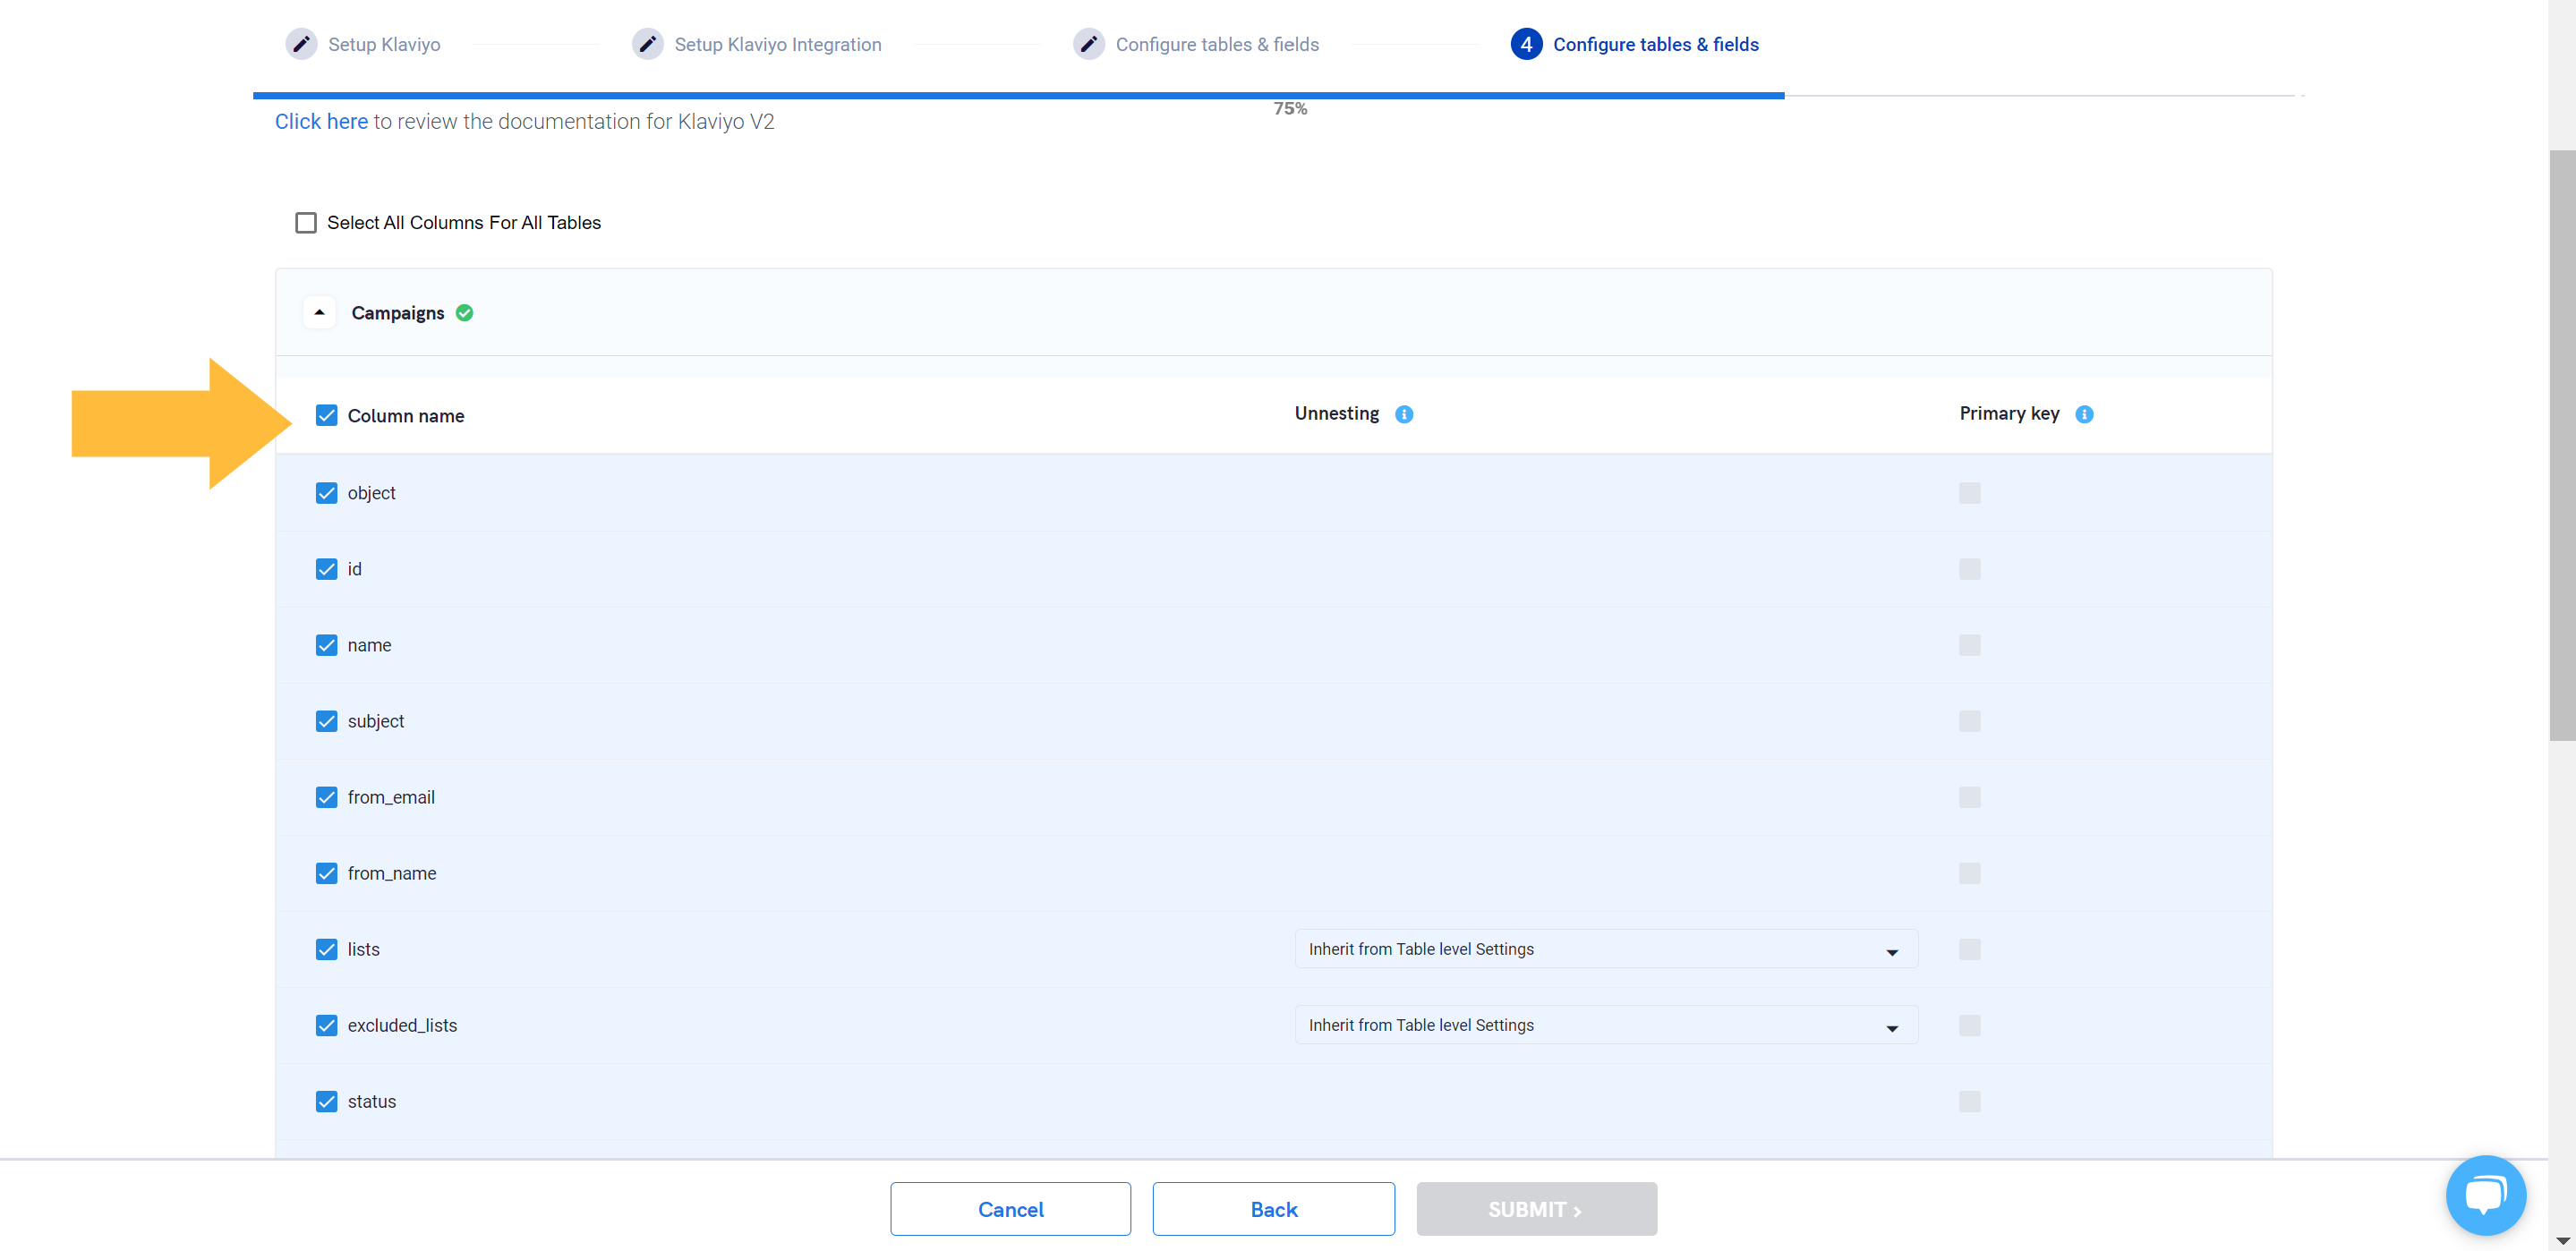
Step 14: Click on submit to integrate your first source with Daton.
The configured integrations will be in pending state until data is extracted, then it will be moved to active state. Users can view the status in the My Sources page.
- Continue with other data source integrations and enjoy the data.
- You can pause, re-activate or delete the integrations from the My Sources page.
Allow sometime for data to flow. You can verify the integration status on My Sources page. Initial data loads take several hours to a few days to completely replicate the data depending on data source. Data replication speed depends on the the number of historic years of data selected as well as the API quotas enforced by data source platforms
