Setup Instructions for Google BigQuery
This subtopic provides step-by-step instructions to integrate a BigQuery Destination database with Daton, detailing the prerequisites and the integration process.
Setup Instructions for Google BigQuery
This subtopic provides step-by-step instructions to integrate a BigQuery Destination database with Daton, detailing the prerequisites and the integration process.
Setting up access to your BigQuery warehouse is not very complicated and just takes a couple of simple steps.
Follow the steps below to set it up for yourself, if you are stuck somewhere, feel free to contact out support team at support@sarasanalytics.com.
Set up on BigQuery
Task 1: Sign up for GCP and get Google Credits
- Go to https://console.cloud.google.com/ and sign in with a Google Account.
- You will be provided with a $300 credit initially which can be extended by Google on a case-to-case basis.
Step 2: Create a BigQuery Project
- Create a BigQuery project on Google Console.
- Click on 'Select a Project' and create a new dedicated project for Daton.

Note the BigQuery project ID and select the same while integrating the BigQuery data warehouse on Daton.

Task 3: Enable BigQuery APIs
- Enable BigQuery APIs for the project by selecting "Library" on the APIs and Services menu.

- Search and Select BigQuery API

- Click on Enable.

Note: Daton requires only the BigQuery service from the Google Cloud Platform, and other services like Compute Engine are not necessary for its functionality.
Task 4: Grant Daton the Permission
- To grant warehouse edit permissions to Daton service account, go to GCP ‘IAM & admin’ tab, then click on IAM.

- Click on Grant Access.

- Grant 'BigQuery Job User' and 'BigQuery Data Owner' permissions to the 'daton-bigquery@daton-210514.iam.gserviceaccount.com' service account.

Set up on Daton
1. Log in to your Daton account and navigate to the Destinations page.
2. Click the Add New Destination button and select BigQuery from the list of options.
3. Enter an integration name to identify the warehouse in Daton.
4. Select if you want to enable clustering (To read more click here) for all integrations created by Daton, then click on next.

5. A popup will open up asking you to log in to your BigQuery account. Provide the necessary credentials to login.
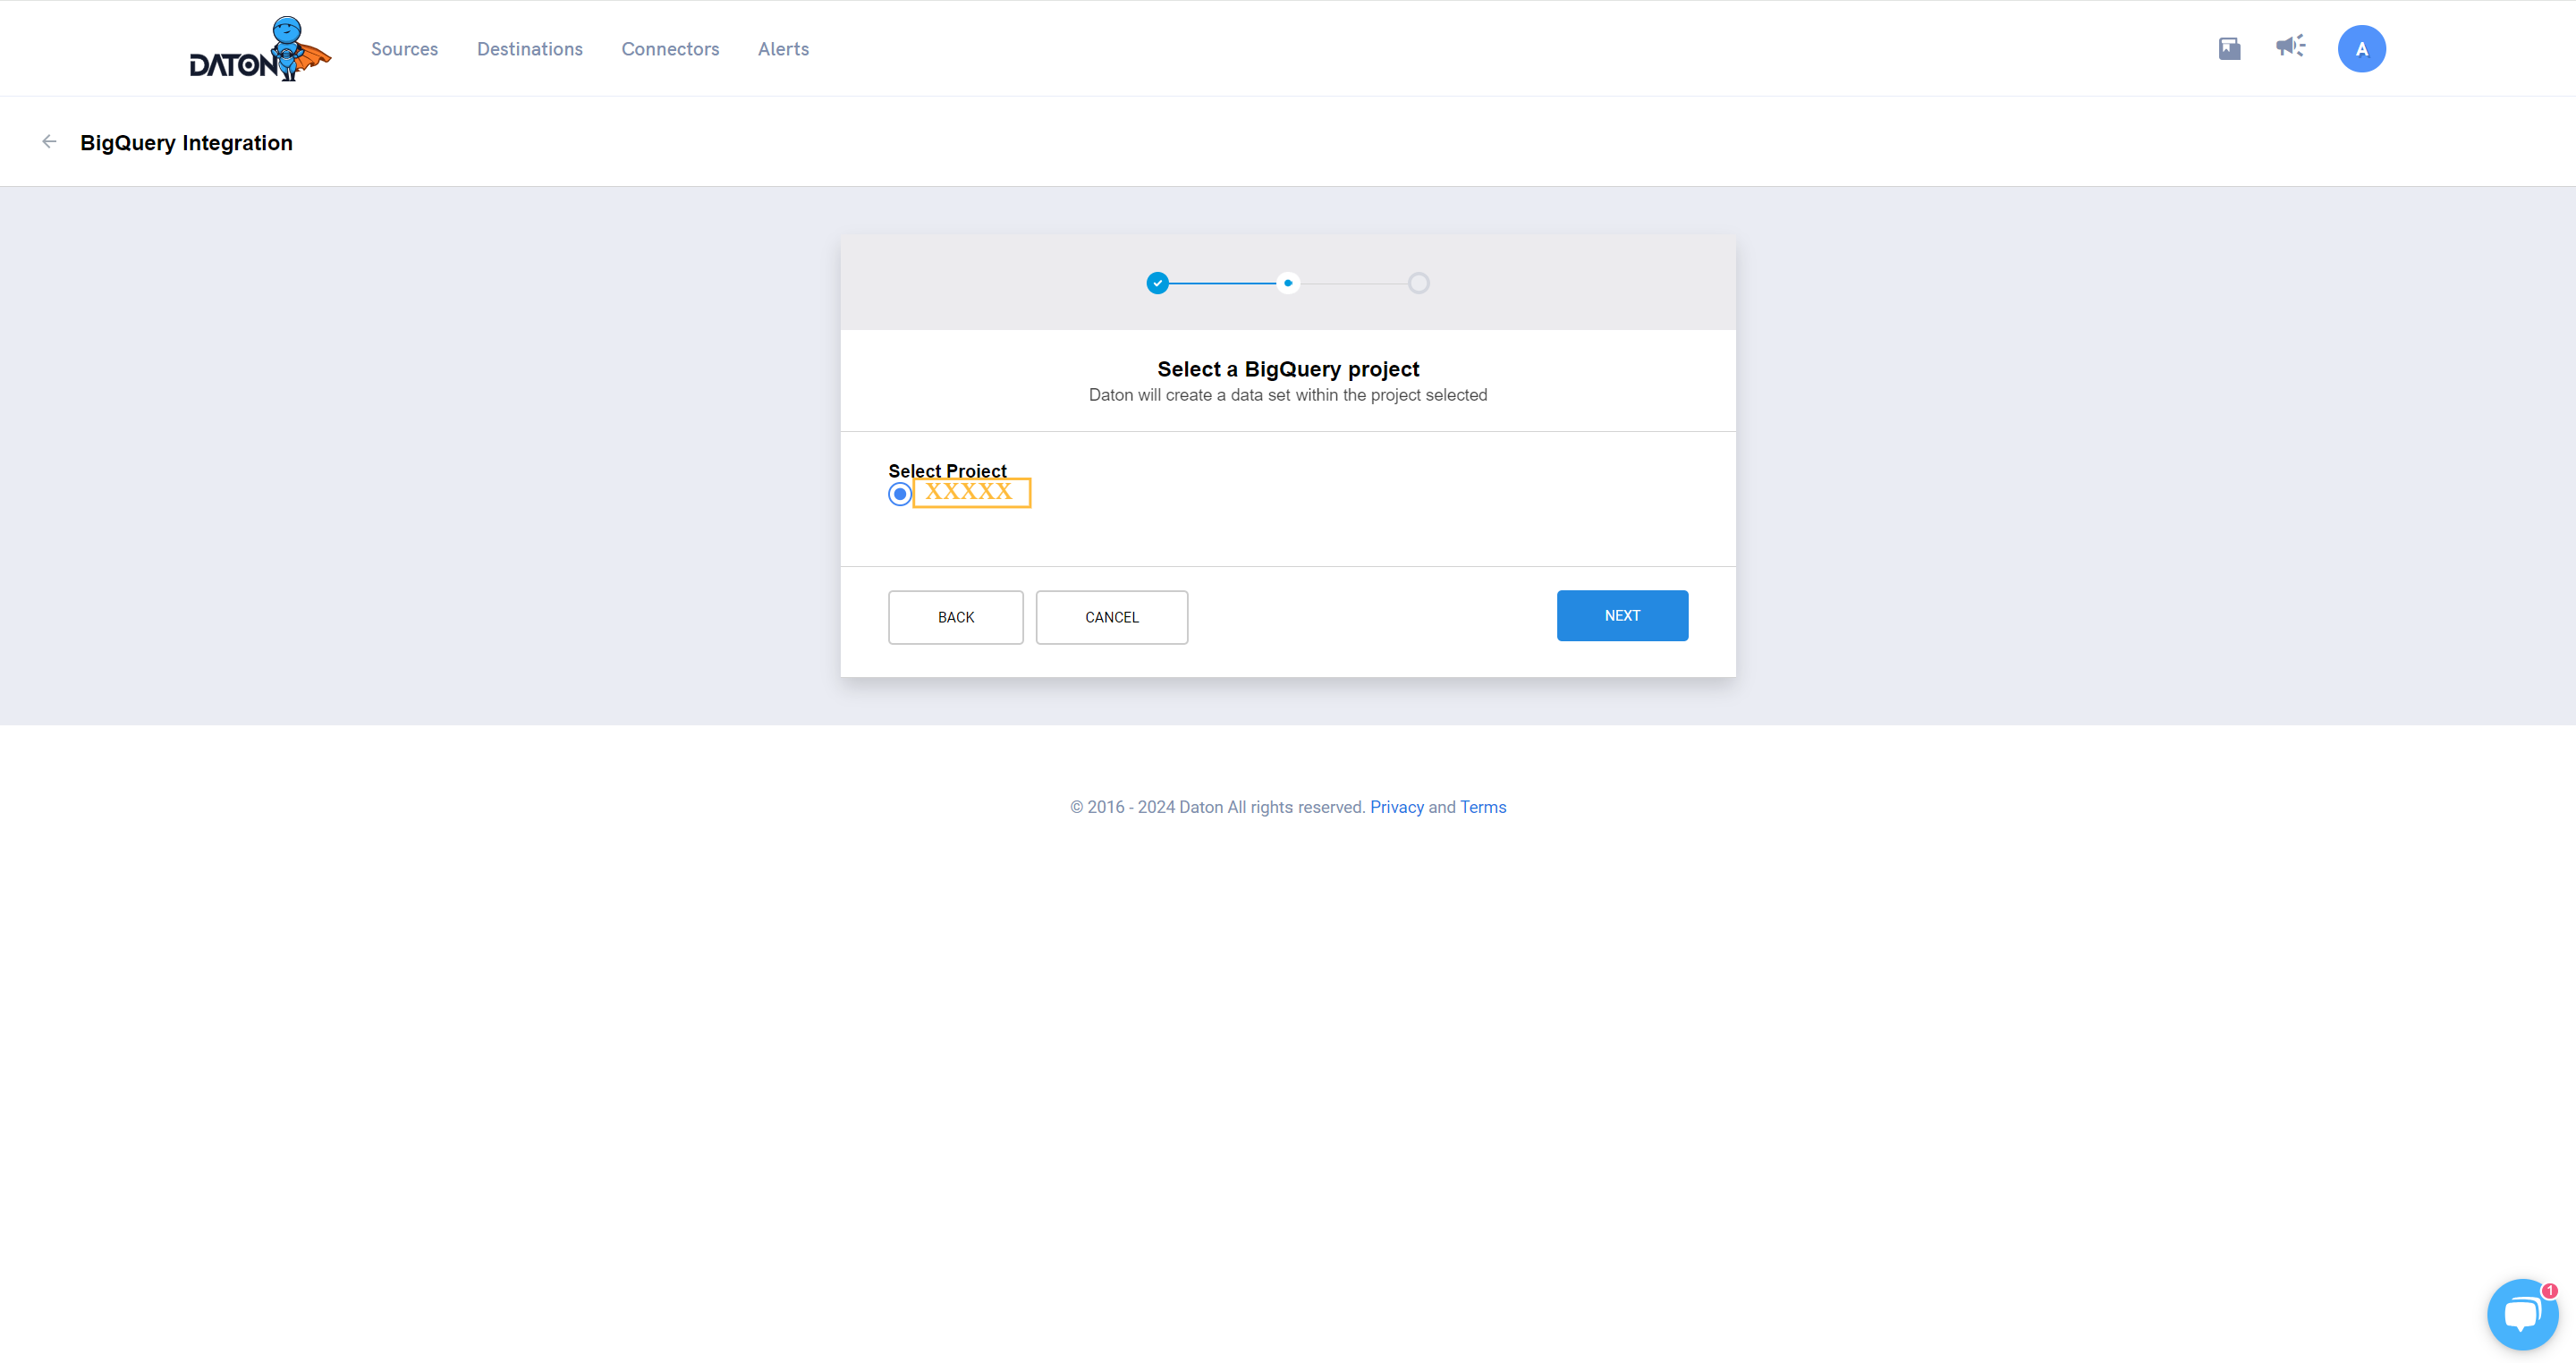
6. Select the project as per your requirement (Refer task 2 point 1).

7. Select the Region.

8. Click on Submit to complete the setup.
