Notification Settings
Discover how to customize and manage your notification preferences in order to stay informed and organized according to your personal preferences.
Notification Settings
Discover how to customize and manage your notification preferences in order to stay informed and organized according to your personal preferences.
In Daton, notifications play a crucial role in keeping you informed about important activities within your account. They are automatically-generated emails that provide updates and insights according to your preferences. By customizing your Notification Settings, you can ensure that you receive only the updates that matter most to you.
In Daton the notification settings are categorized into two main parts:
- Preference: This allows you to receive personalized email notifications related to Integrations, Warehouses, Rows processed, Subscription, Monitoring, and User management.
- Data Delay: By enabling this for integrations, you receive real-time alerts in the Daton's Alerts interface and personalized emails regarding any data delays.
Read our article Daton Alerts to know more about it.
Locating Notification Settings in the Daton Interface
Follow the following steps to locate notification settings in your Daton account:
-
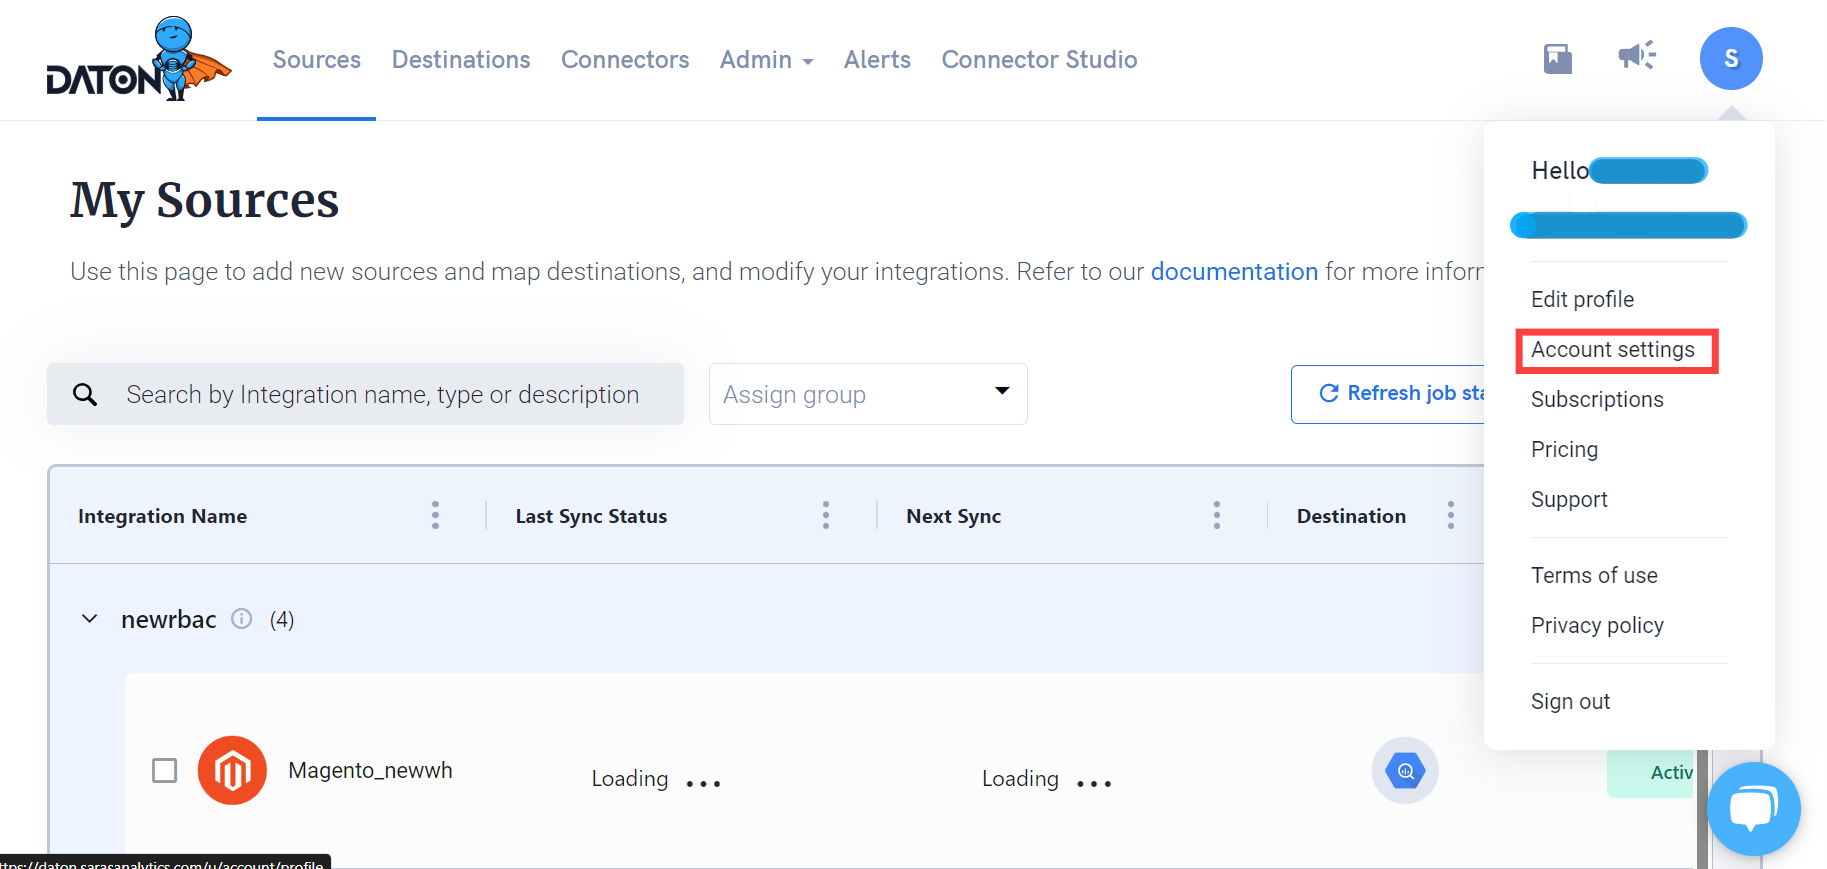
Log in to your Daton account and Navigate to the Account Settings.

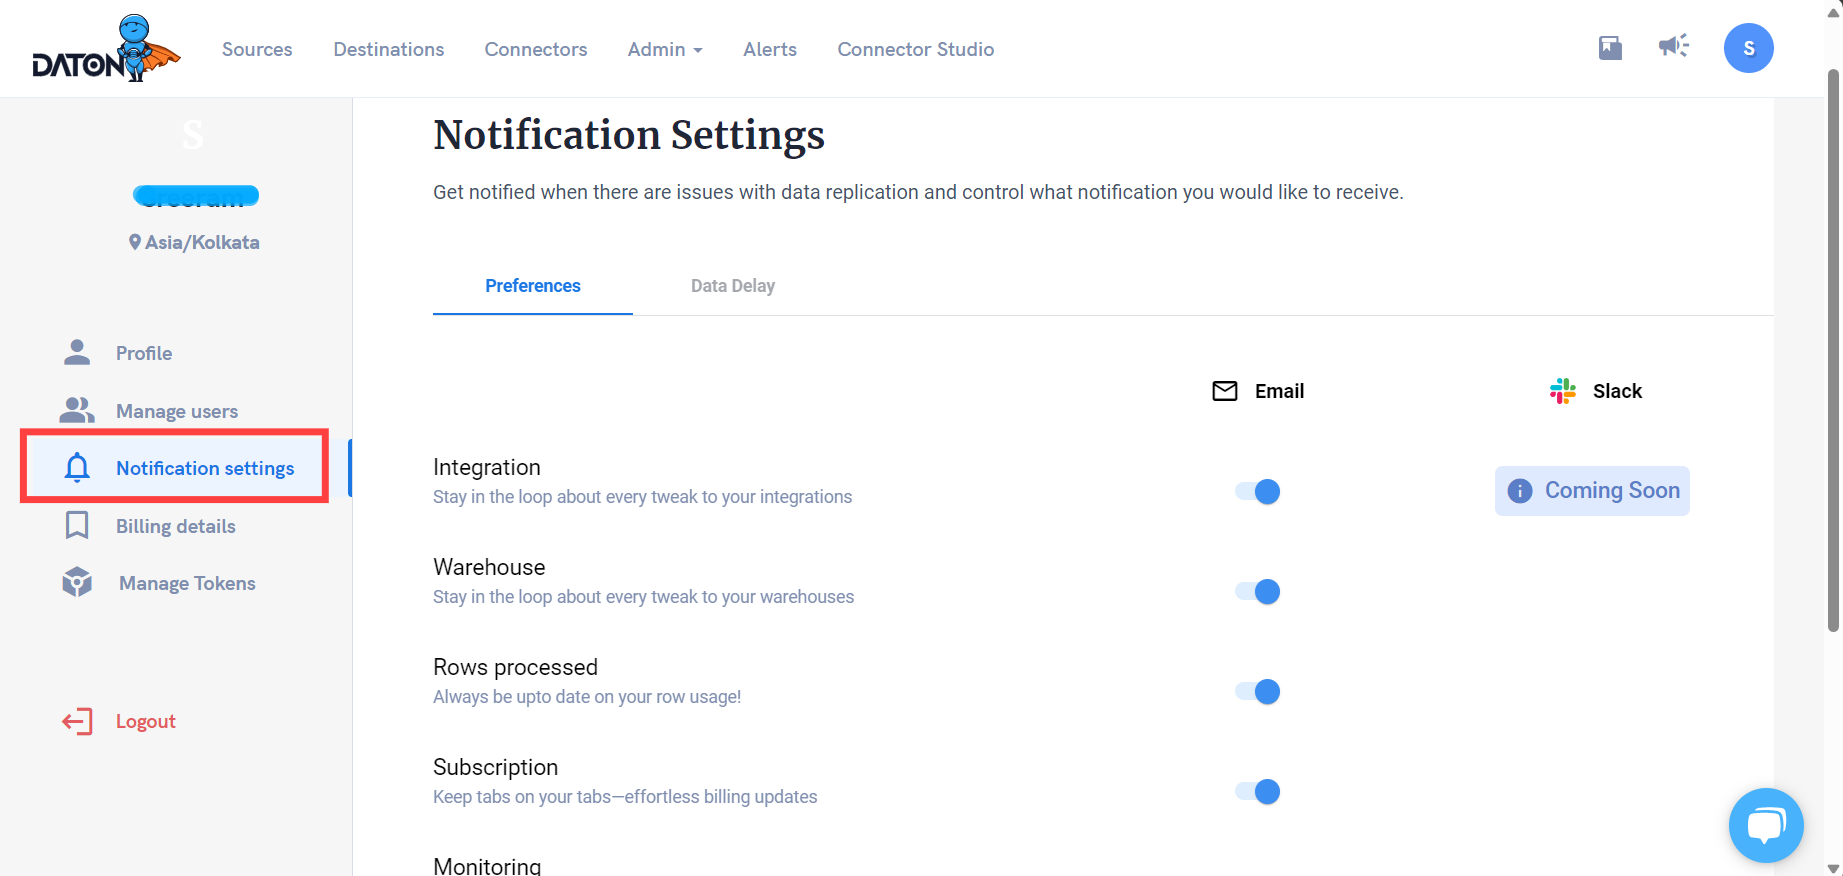
- In the Account settings, you will find the Notification Settings on the left menu panel.
- Click on Notification Settings and proceed to configure your preferences.

Setting up Notifications
Preferences
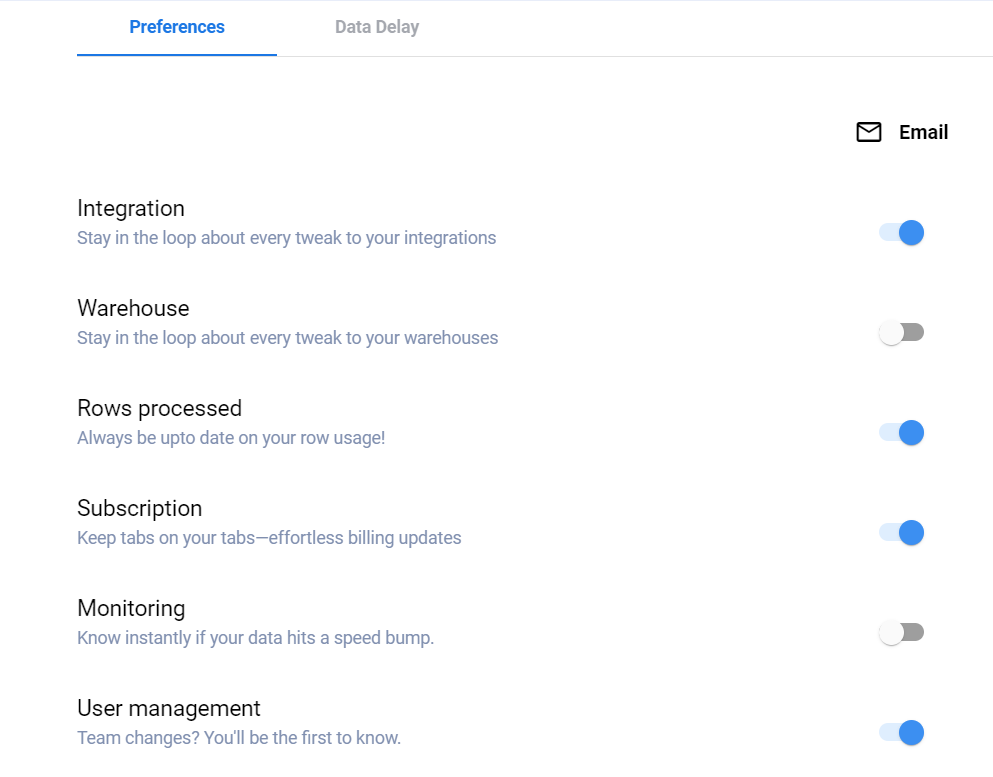
Daton offers a range of notification preferences that can be easily activated or deactivated using toggle buttons. Enabling these preferences ensures you receive timely email notifications for respective aspects of your Daton account.

Following are the range of Preferences Daton allows and their meanings:
- Integration: Email notification for any changes or adjustments that are made to their integrations within the Daton platform.
- Warehouse: Email notification for any modifications made to their warehouses in the Daton system.
- Rows processed: Email notification for this for the usage and processing of rows within their datasets on Daton.
- Subscription: Email notification for billing changes or updates to their subscription plans.
- Alerts: Email notification for any disruptions or issues that affect the speed or integrity of your data within Daton.
- User management: Email notification for any alterations or updates made to the team structure or user management settings within their Daton account.
Configure these preferences according to your needs to ensure you are always in the loop and receive timely updates about necessary aspects of your Daton account.
Recipient Management
Add new recipient
- On Daton, open Notification settings.
- Click “Switch Recipient” button on the notification preferences page.
- Simply add the additional email at the bottom of the popup and click create.
- A new email-only recipient is added and will receive notifications based on the set preferences.
Delete a recipient
- On Daton, open Notification settings.
- Click “Switch Recipient” button on the notification preferences page.
- Right next to the user who you want to remove will be a delete icon.
- Simply click it and confirm.
- Done! No additional emails will be sent to this email in the future.
Manage preferences for a recipient
- On Daton, open Notification settings.
- Click “Switch Recipient” button on the notification preferences page.
- Click on the email for which you want to manage preferences for.
- The preferences page will change for the other user and any changes done will be applied for the selected user.
- To switch back to your preferences- click “switch recipient” again and click your email.
Integrate other tools to receive notifications
Slack
Note: Slack integration is only supported for Slack channels.
1. Open the Slack app/website.
2. Right-click on the channel where you want to receive notifications.
3. Click “View Channel” details and go to “Integrations” tab.

4. Click “Send emails to this channel”.

5. A new popup will open with an email address.

6. Copy this email address.
7. Now, open Daton and go to Notification Settings

8. Click on “Switch Recipient” and add your Slack channel email address.
9. Notifications will be sent to your email based on your set preferences.
Teams
- Open the teams app/website.
- Go to the teams section and click the 3 dots for the sub-channel where you'd like to receive notifications.
- Click “Get email address” in the 3 dots.
- A popup with an email address will open up, just copy the email address without the channel name.
- Add this email address as a recipient on Daton.
- Notifications will be sent to this email based on your set preferences.
This guide will help you understand and configure Notification Settings in Daton, ensuring you stay updated on all essential activities within your account. By customizing these settings, you'll receive only the updates that matter most to you.
