Uploading COGS Data using Google Sheets
Uploading COGS Data using Google Sheets
To upload the cost of goods sold data using the Google Sheet integration, you need to prepare the sheet first, then set up the integration.
Note: Make sure the spreadsheet you create in the following steps is in the same account you plan to connect to Pulse.
Preparing the Sheet
1. Go to your Google Drive and create a new Google spreadsheet.
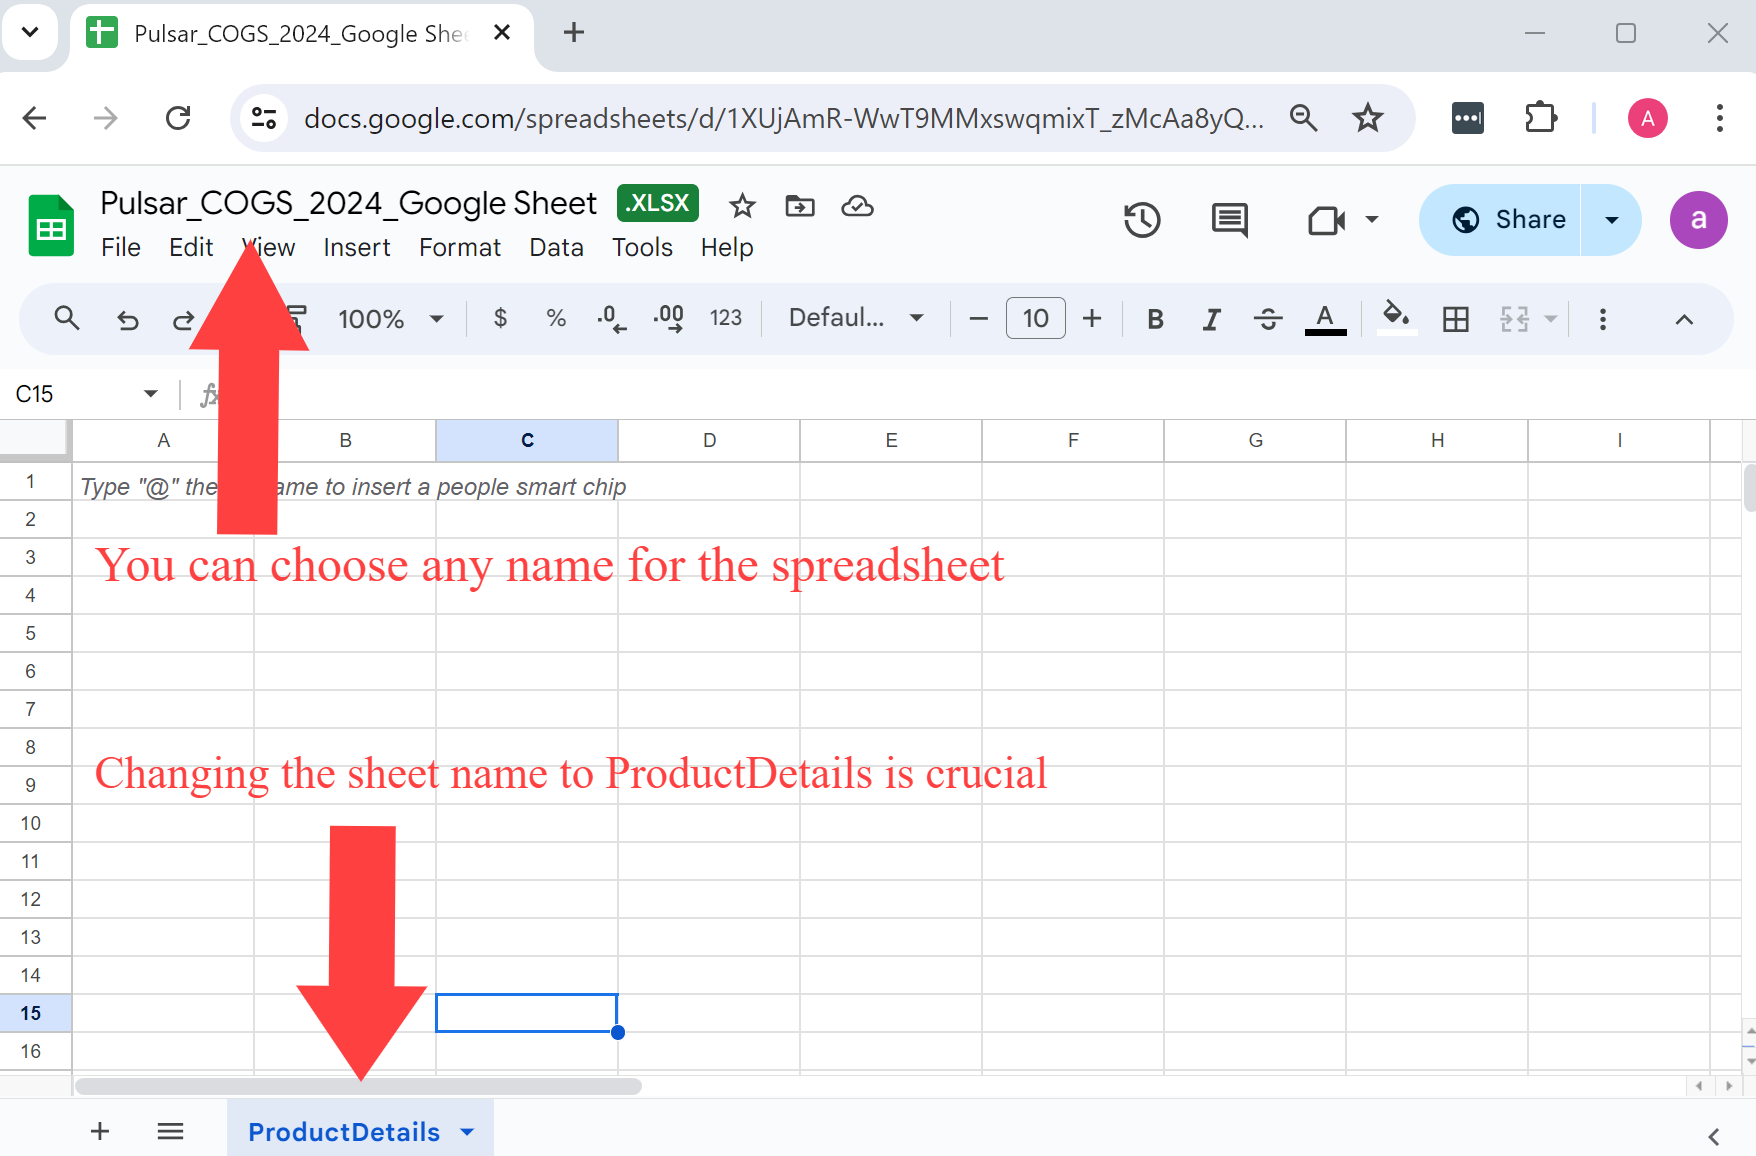
2. Rename the "sheet1" to “ProductDetails."
Note: Ensure the letters "P" and "D" are capitalized, and there is no space between the two words
Changing the sheet name to ProductDetails is crucial
3. Open the spreadsheet template given below and copy the first row.
Spreadsheet Template
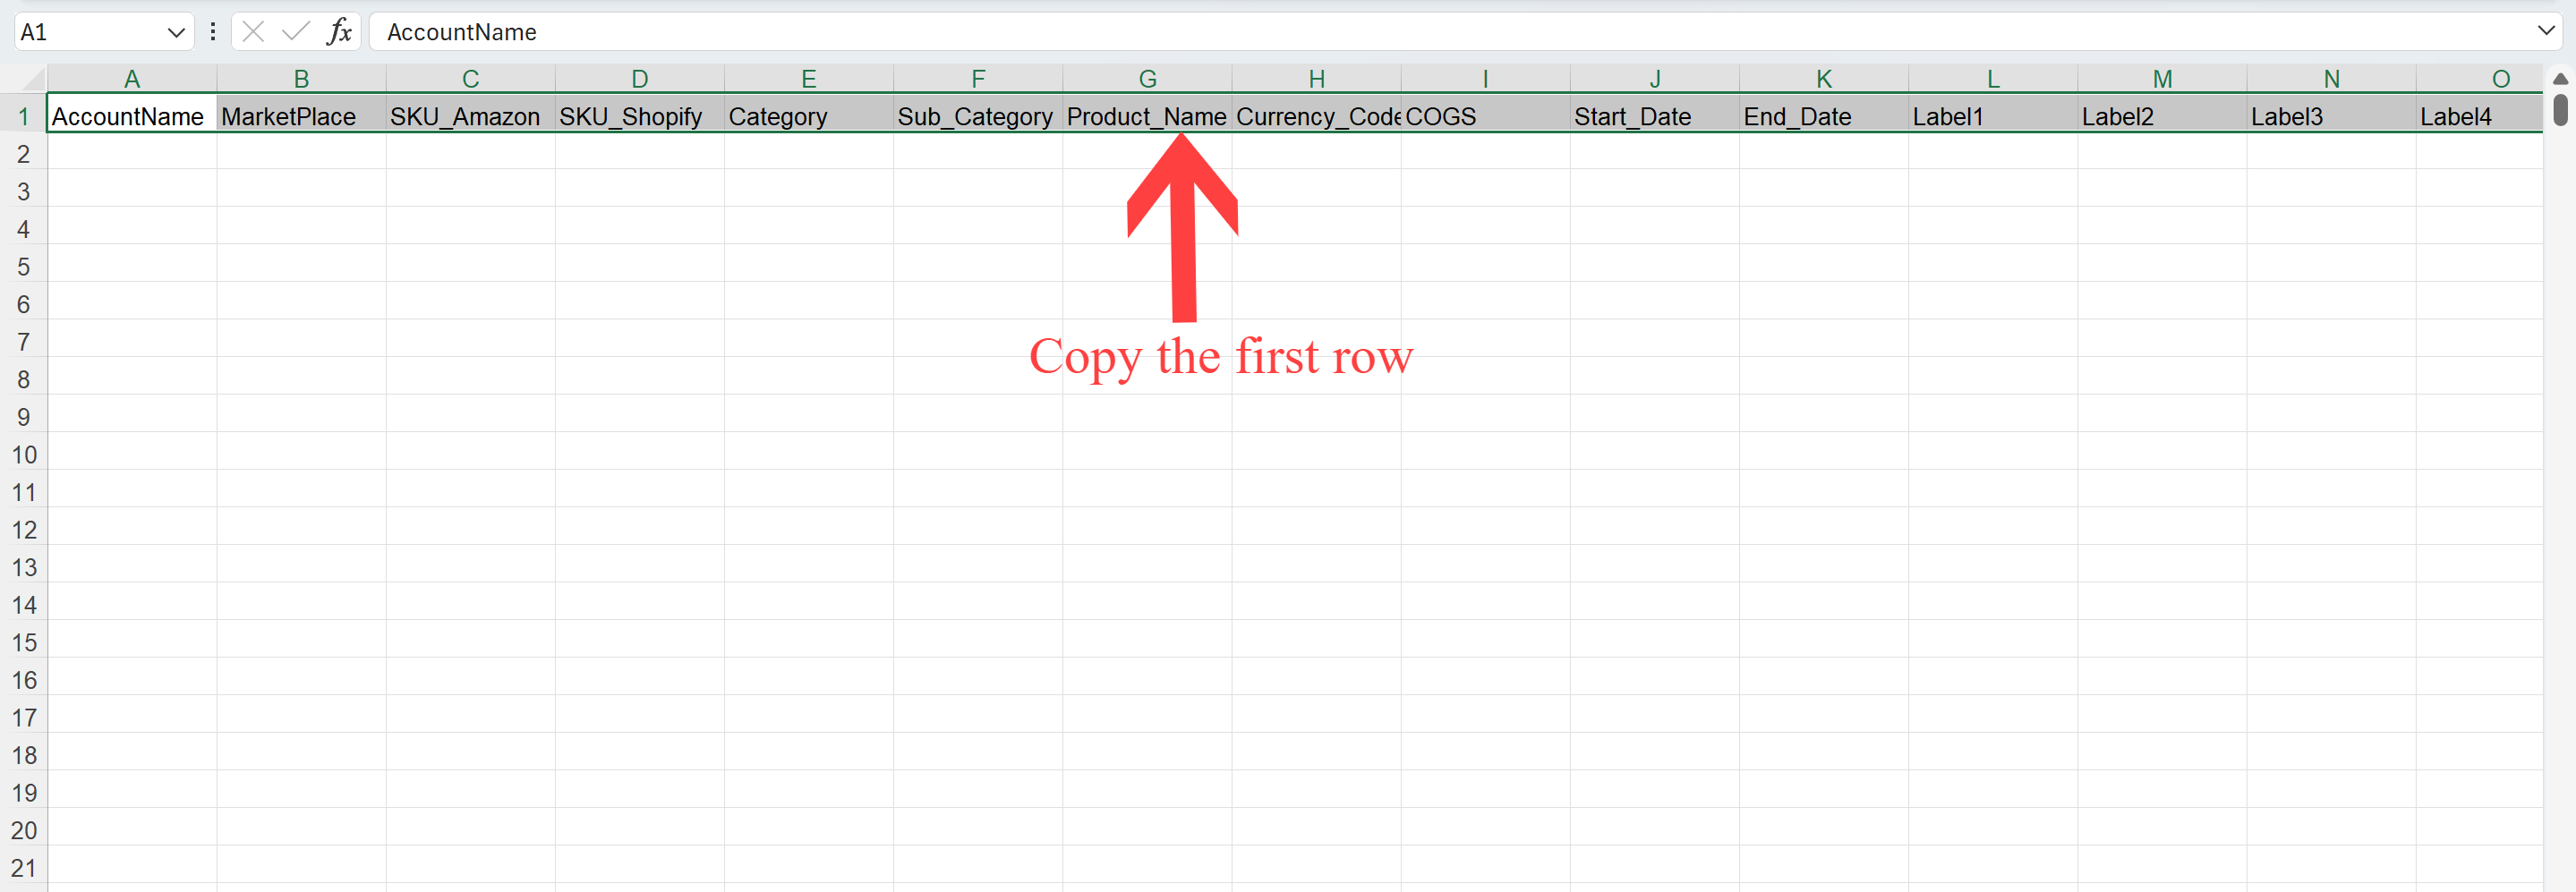
4. Paste the copied row into the Google Spreadsheet you created (As the first row).
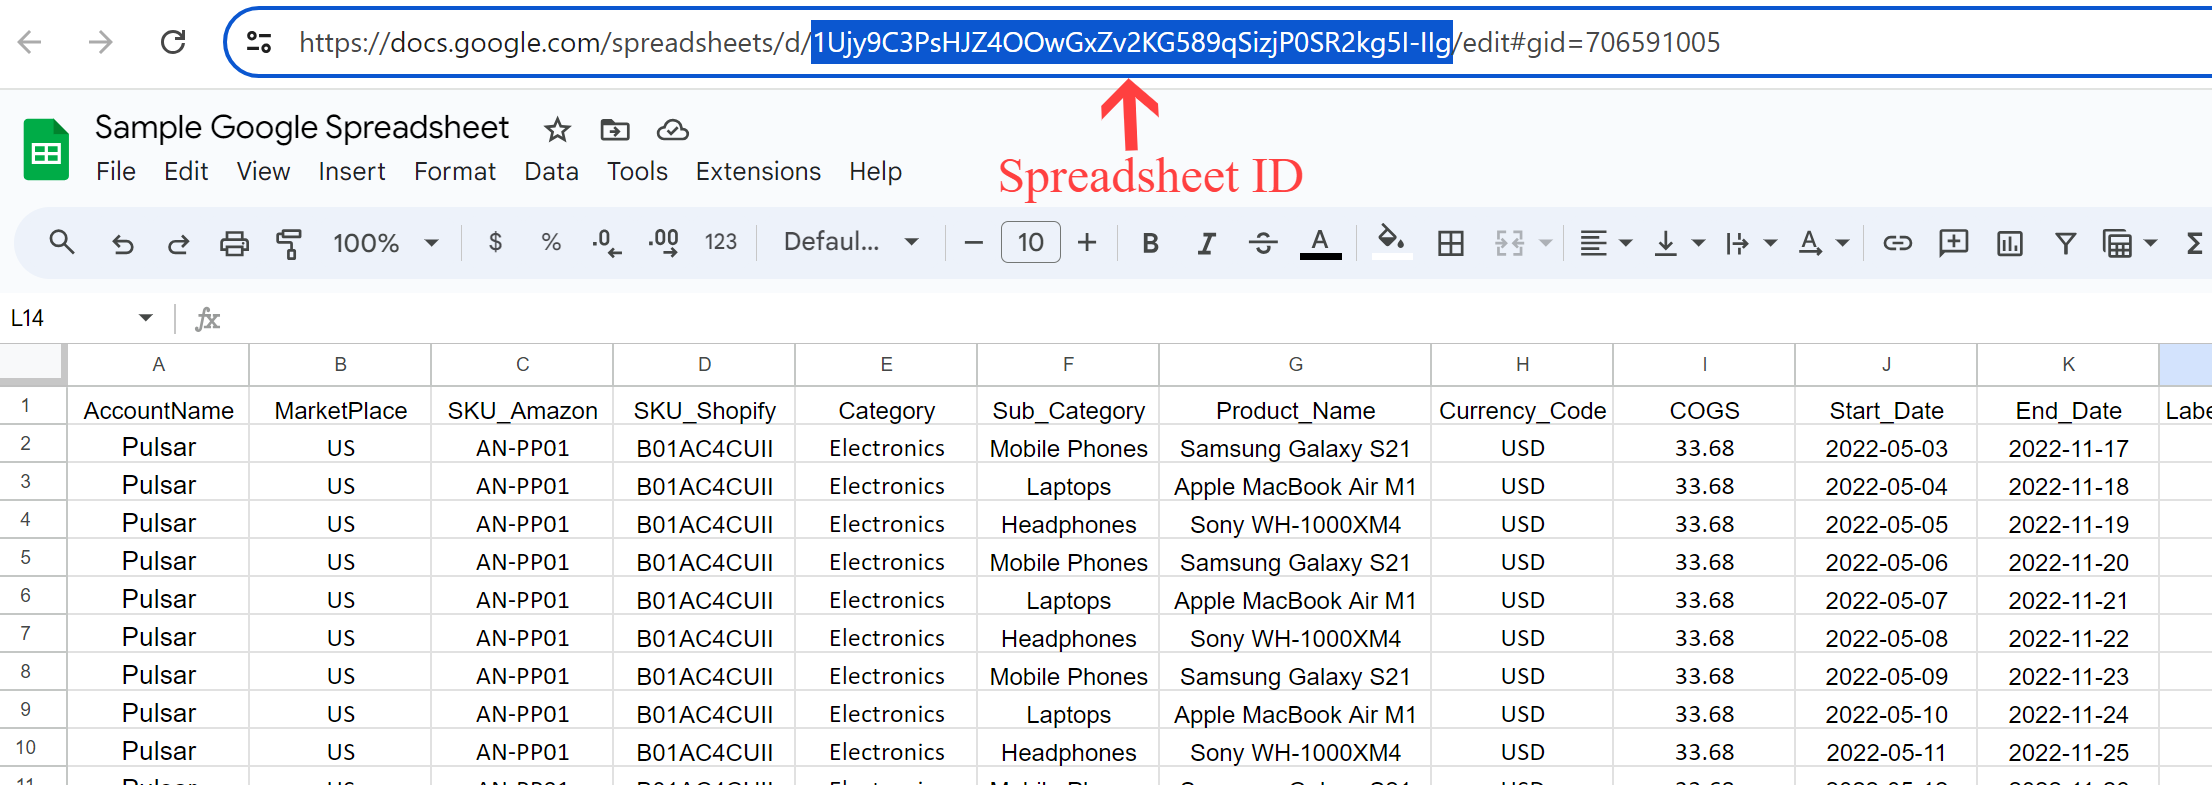
5. Upload the data in the format shown below.
For more info, check out this Document: Guide to Fill the COGS Template

You can choose to not fill the columns after End_date. The columns after End_date are for customisation purpose. Please ensure you do not delete them; simply leave them empty.
| Country | Marketplace Code |
|---|---|
| United States | US |
| United Kingdom | UK |
| Mexico | MX |
| Canada | CA |
| France | FR |
| Spain | ES |
| Italy | IT |
| Germany | DE |
| Country | Currency | Currency Code |
|---|---|---|
| United States | US dollars | USD |
| United Kingdom | British Pound Sterling | GBP |
| Mexico | Mexican Peso | MXN |
| Canada | Canadian Dollar | CAD |
| France | EURO | EUR |
| Spain | EURO | EUR |
| Italy | EURO | EUR |
| Germany | EURO | EUR |
6. Once the sheet is ready, copy the spreadsheet ID. The spreadsheet ID can be found in the URL of your google sheet.
Now you can go to Pulse and setup the integration.
Setting up the Integration
1. Select from an existing brand or add a new one by clicking on “Add Brand”.
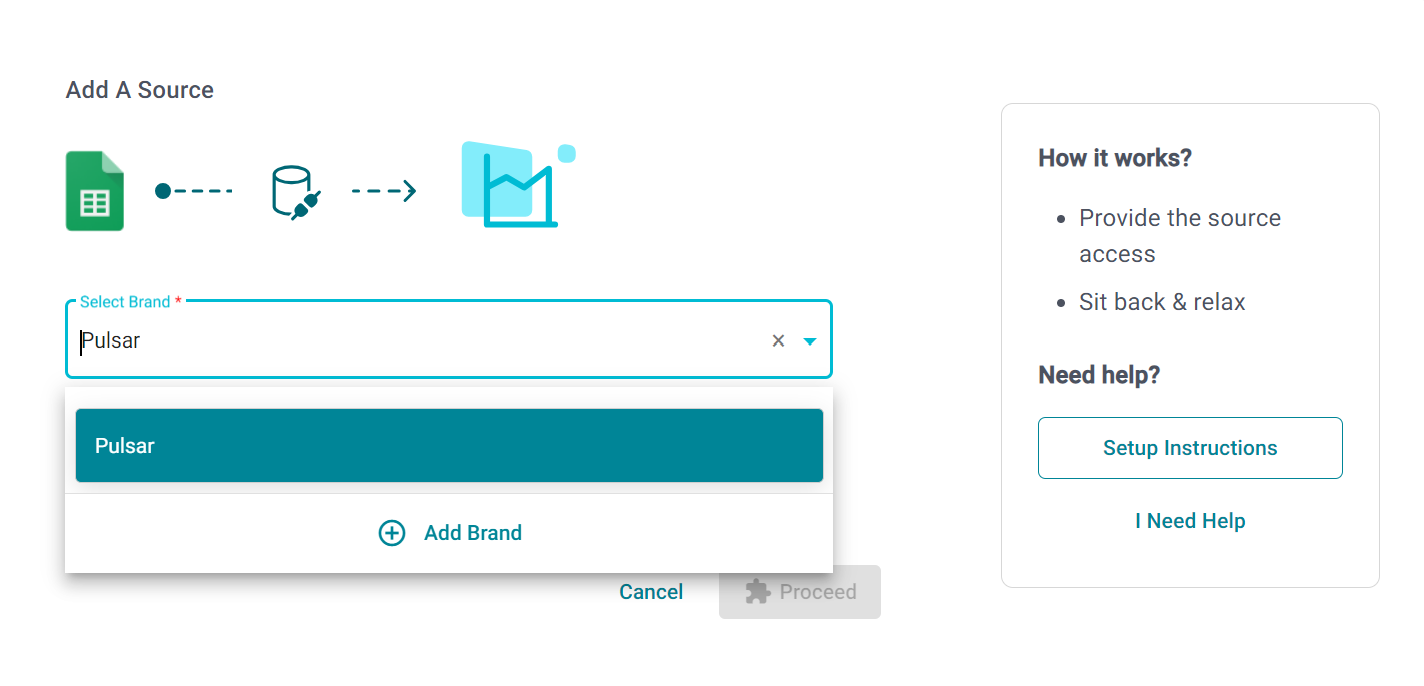
2. Provide a name for the integration, this will help you identify it later. Then Click on Proceed.
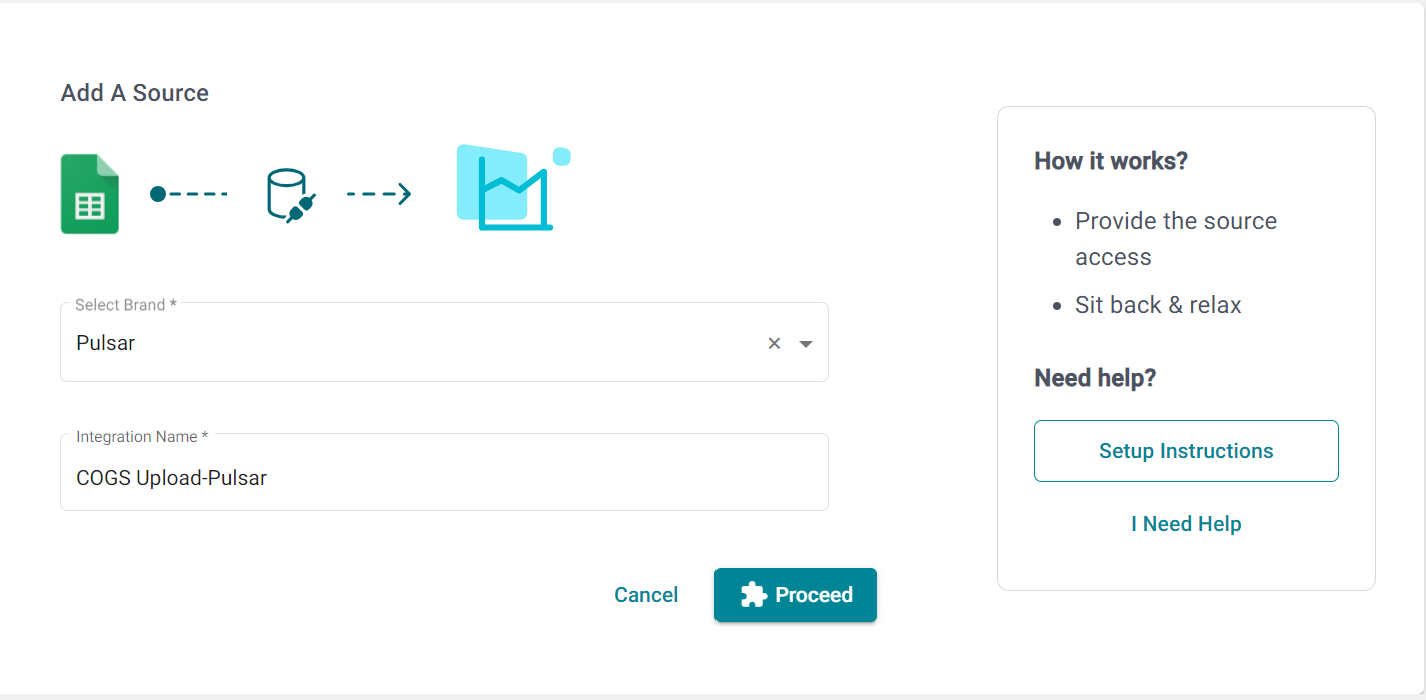
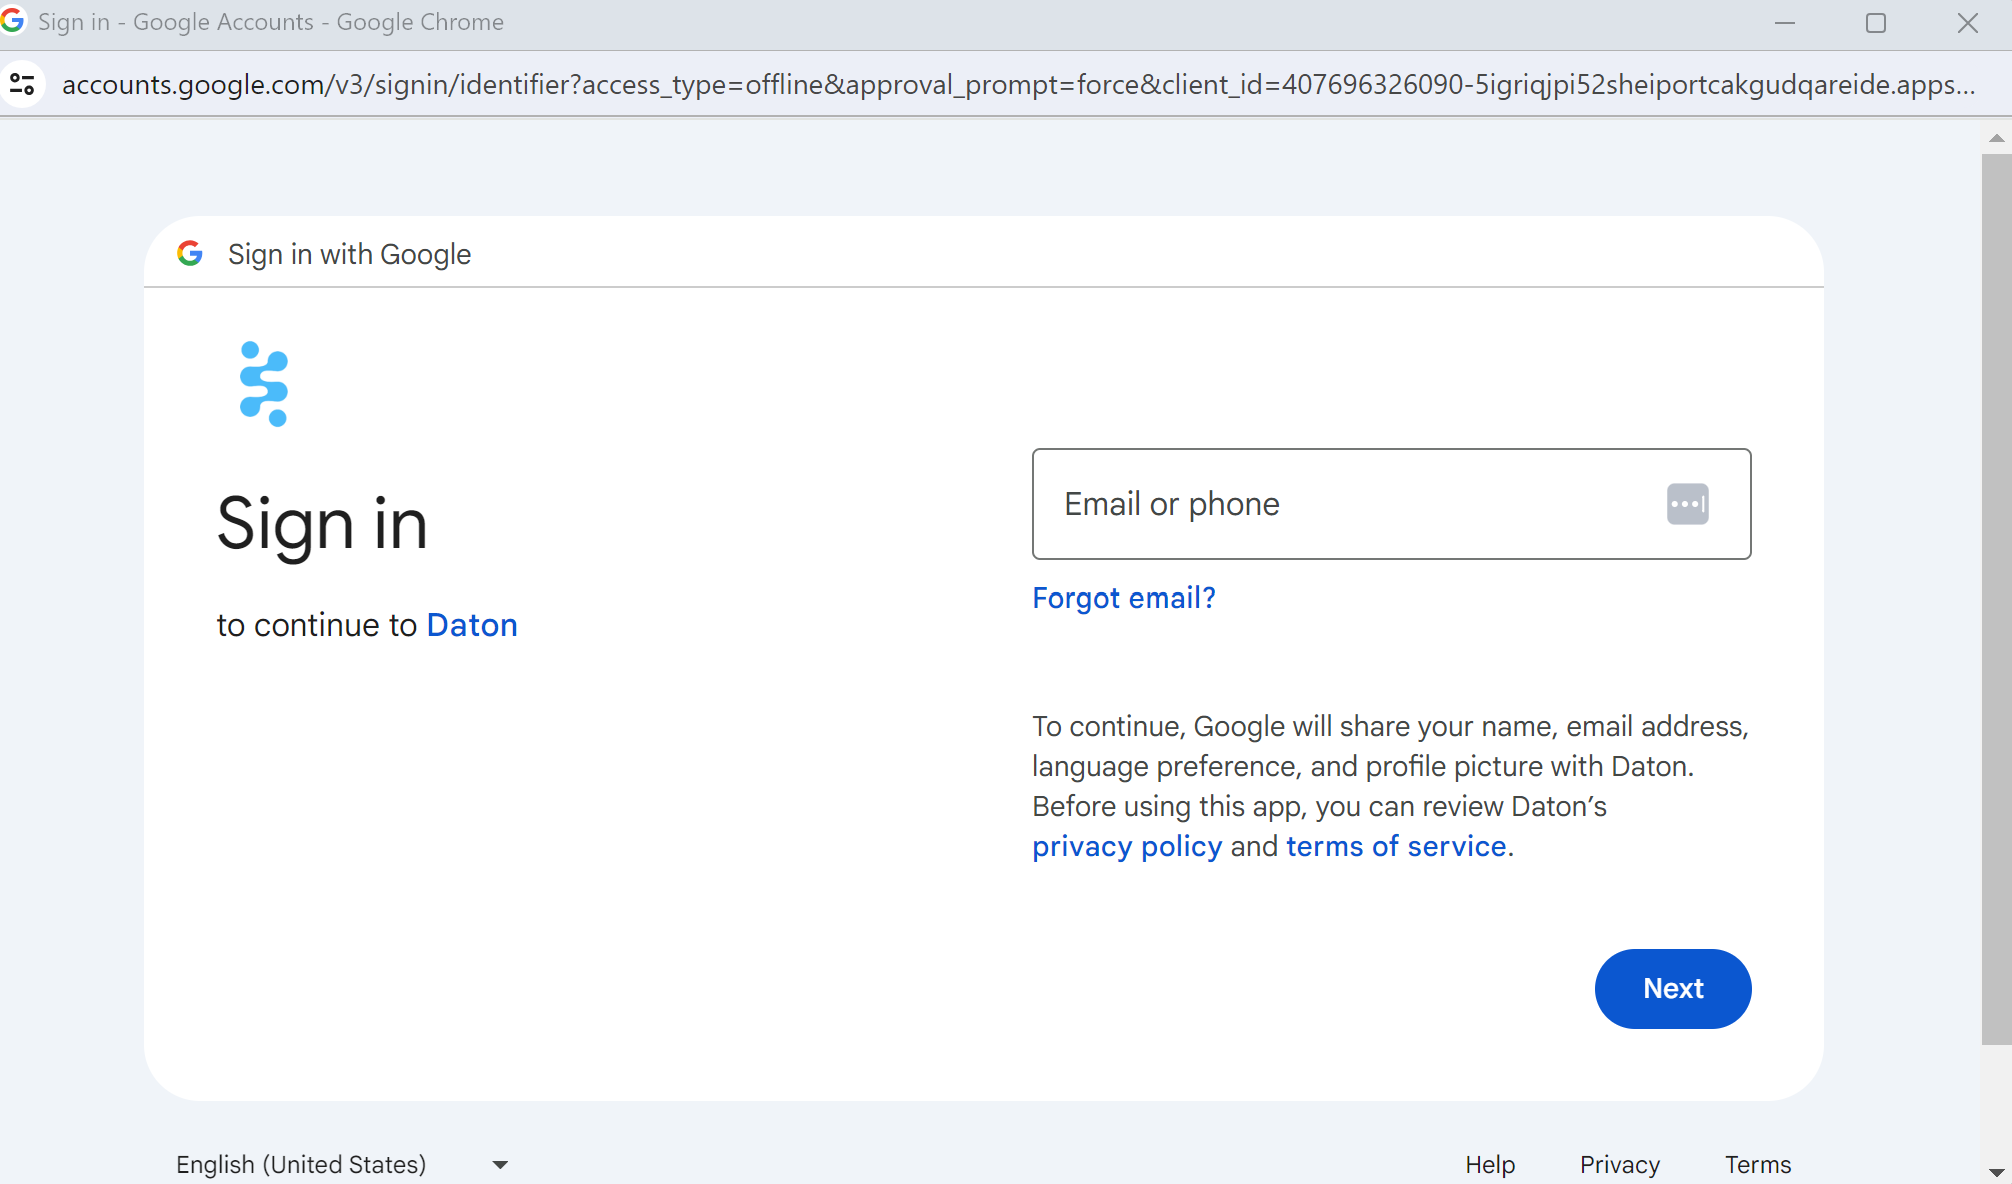
3. Log in to your google account.
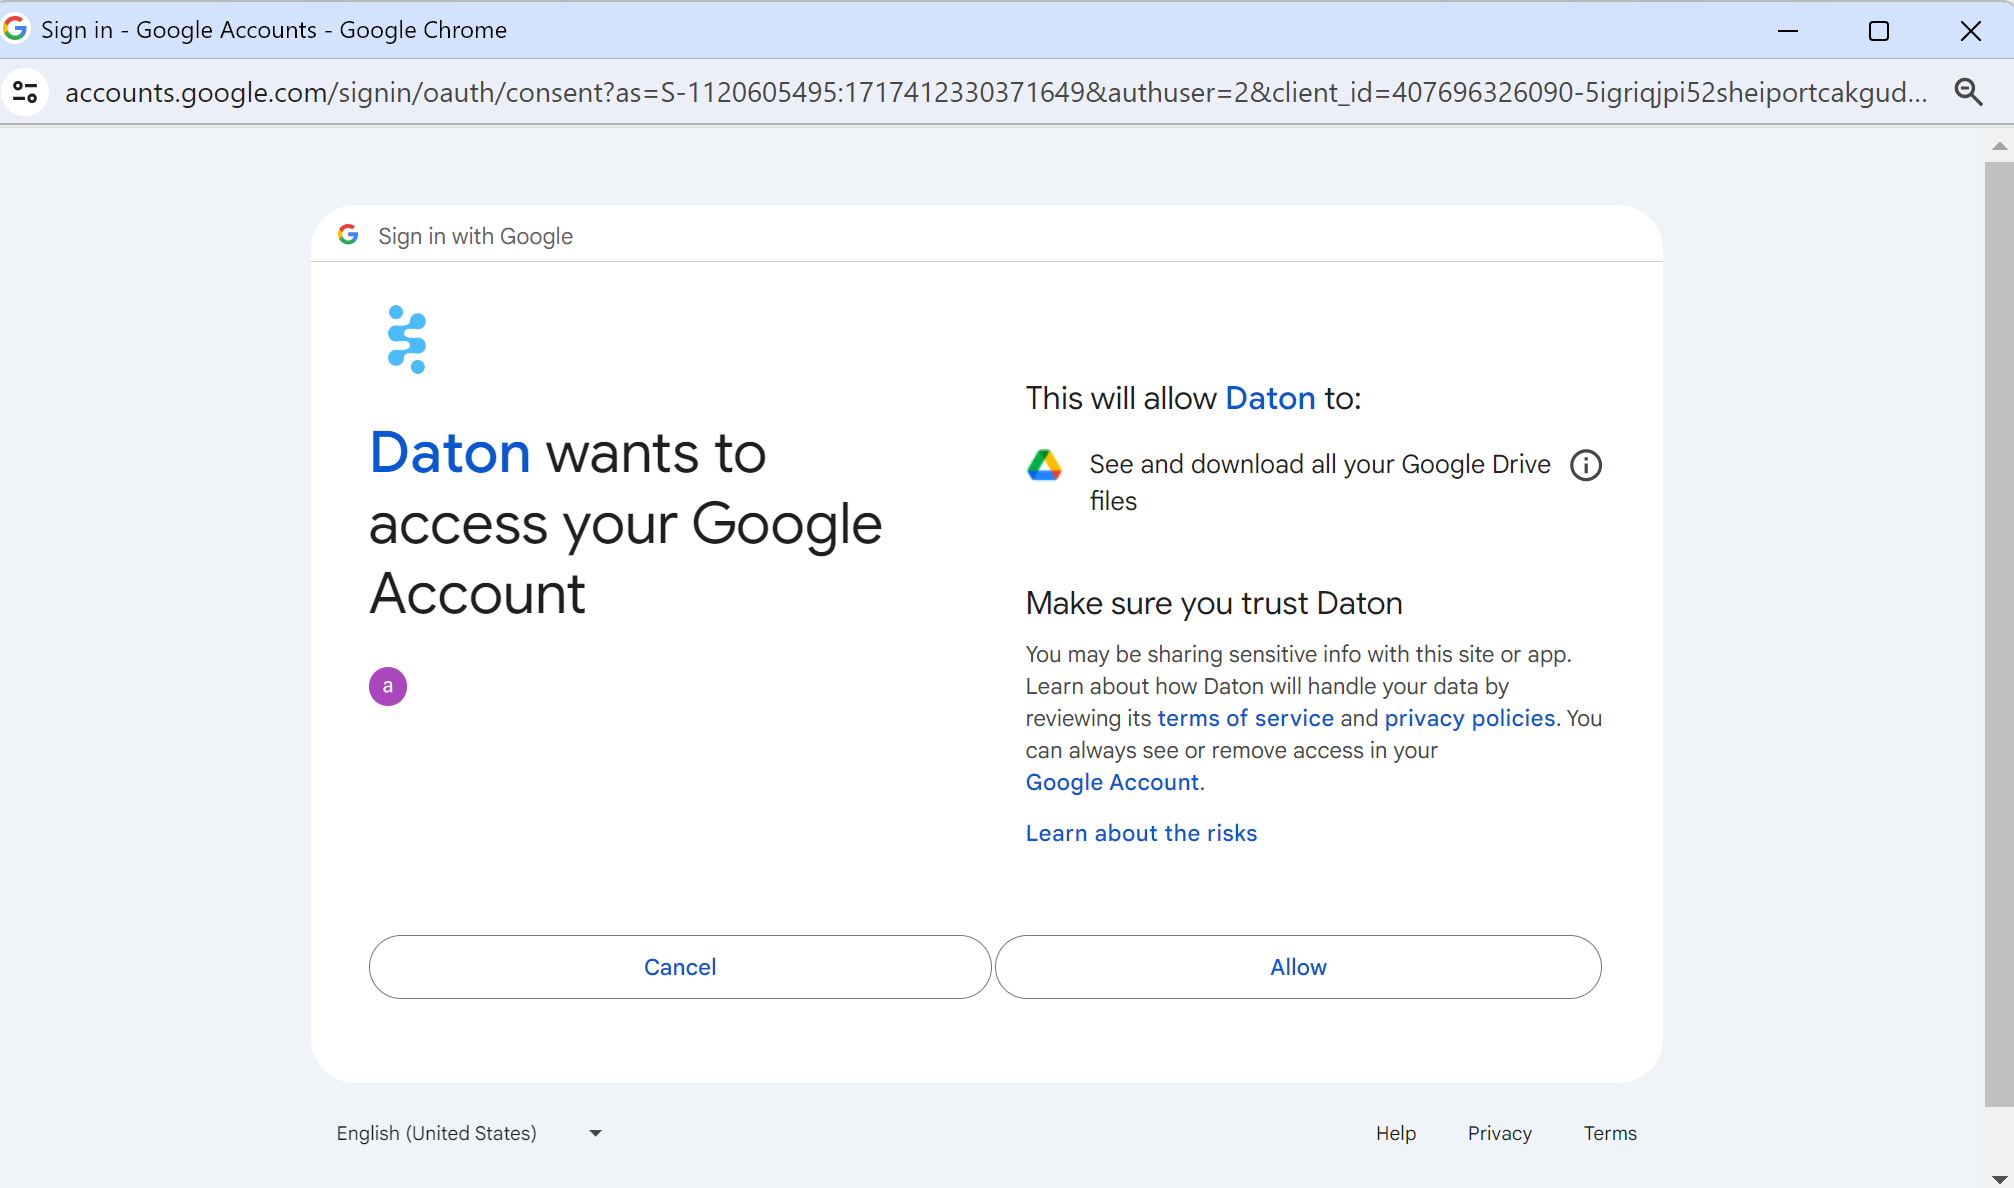
4. Give Daton the permission to access your google account.
5. You will be asked for a spreadsheet ID, paste the spreadsheet ID.
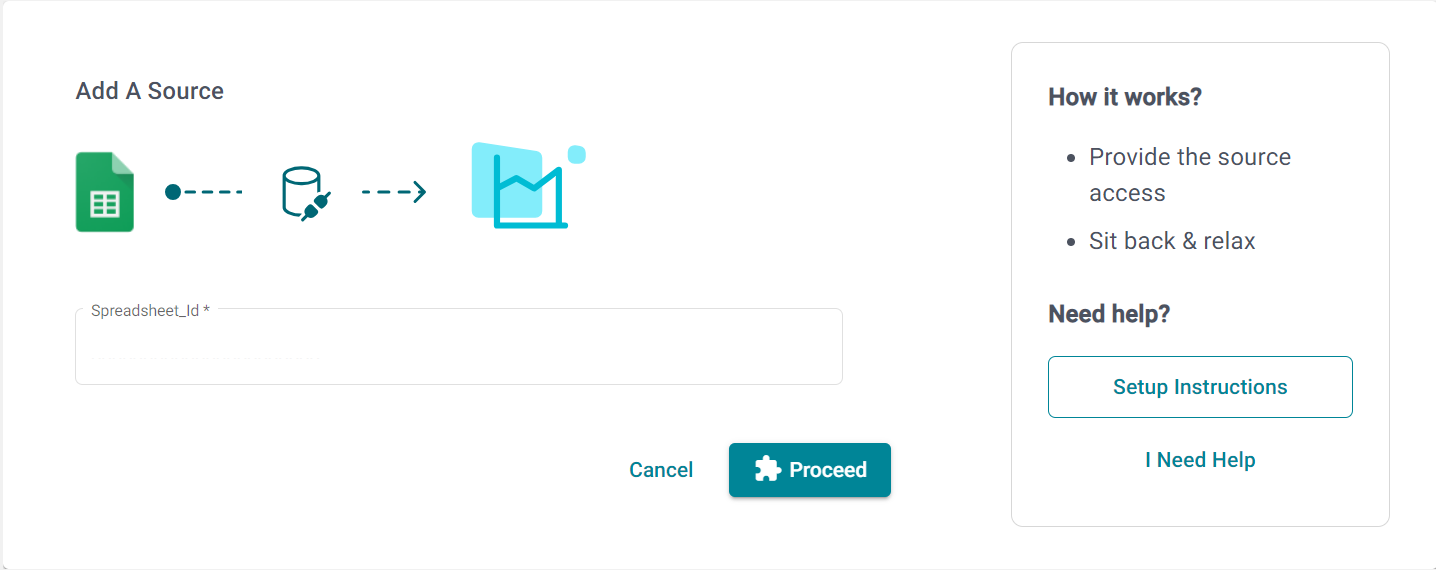
Click on Proceed to create your google sheet integration.
